Building a Simple JSF and Web Services App in JDeveloper 10.1.3 Preview
Introduction
This HowTo shows how simple it is to call a Web Service from a JavaServer Faces application. For this example we'll build a simple JSF application which accepts a stock symbol from an input form and then calls a stock quote Web Service to get the result which is then displayed on the same page.
Getting Started
To get started, first make sure you've downloaded JDeveloper 10.1.3 Preview from OTN and installed it on your machine.
- To start building the application, we can use the Application Workspace wizard to generate a new Workspace and empty project. (File->New->General->Application..). Or just create an empty project in any existing Workspace. (You can name it JSFStockWS.)

- After creating an empty project, click the Connection Navigator tab and browse the UDDI registry. Inside the Microsoft Public registry you'll find the Xmethods Delayed Stock Quotes service. Right-click on the service and select Generate Web Service Stub/Skeleton... This will generate a set of client Web Service Proxy classes from which you'll use to call the Web Service from your application.
Note: An alternative way to generate a Web Service Client Stub is to run the Web Service Proxy wizard (File->New->Business-Tier->Web-Services->Web Service Proxy) and supply the direct WSDL URL address in the wizard to generate your stub/proxy.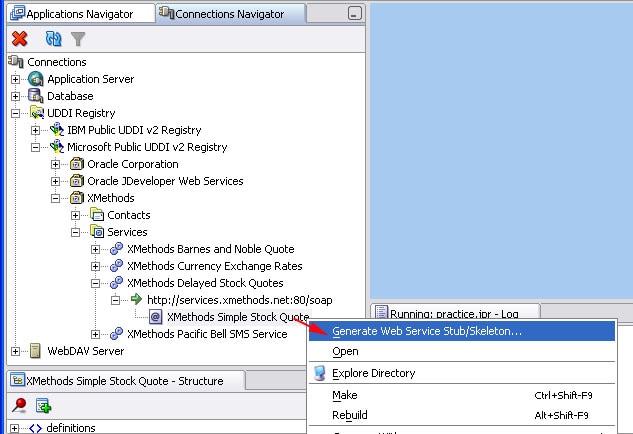
The actual WSDL URL for this service is: http://services.xmethods.net/soap/urn:xmethods-delayed-quotes.wsdl.
(Feel free to check out the many other Web Services listed on the home page of http://xmethods.net.) - After your client (Proxy/Stub) code is generated, the code editor should open and place your cursor in the main() method. At this point you can quickly test your client code to make sure that you can call the Stock Web Service. To test the service, add a line after the "// Add your own code here" which calls the getQuote() method and prints it out the console. You can supply it with a symbol such as "orcl". to test.
See the code example below: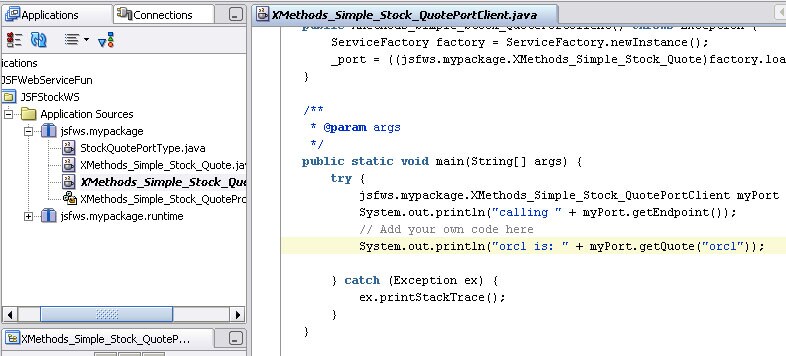
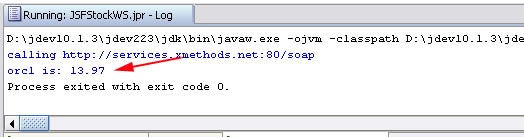
- After a successful test you should see a current stock price in your log window:
- Our next step is to create a new method, getStock(), which accepts a stock symbol as a single argument and returns a String with the current price. We will then use this method in our JSF application.
To create the new method, copy the entire main() method and paste it below itself then perform the following changes on the pasted code:- Change the name of the pasted method from main to getStock and alter it to receive a single argument of " String symbol".
- Change the return type of the method to String.
- Declare a new float variable, price, and set it to = 0; (zero)
- In the try code block add the code: price = myPort.getQuote(symbol);
- At the end of the method add a return statement like: return "The current price of " + symbol + " is: " + price + ".";
Now it's time to build our JSF app!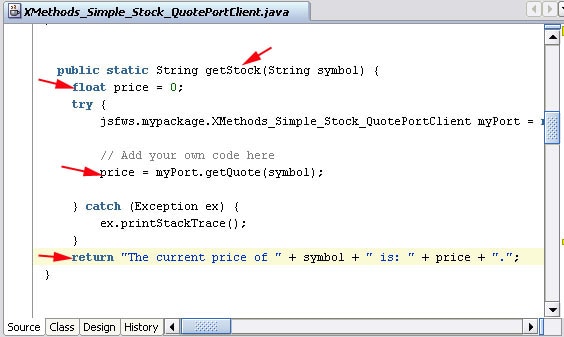
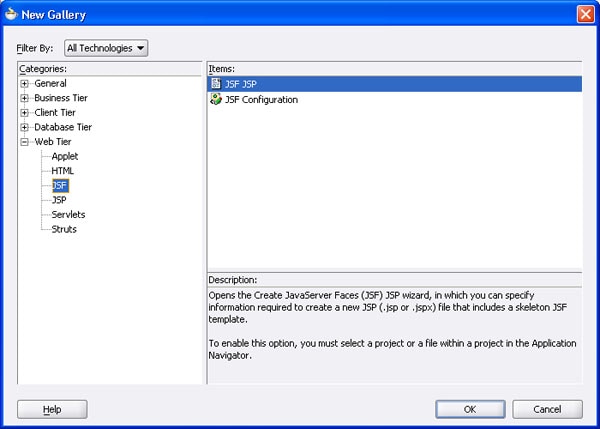
- In the same project, invoke the JSF JSP wizard: (File->New->Web-Tier->JSF->JSF JSP).
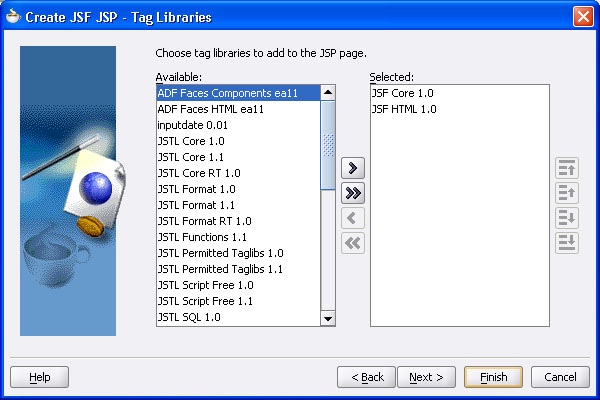
- In the JSF JSP wizard you can accept all of the defaults or click through the wizard to customize some of the settings. If you step through the wizard, make sure you have both JSF Core 1.0 and JSF HTML 1.0 tag libraries selected for this page.
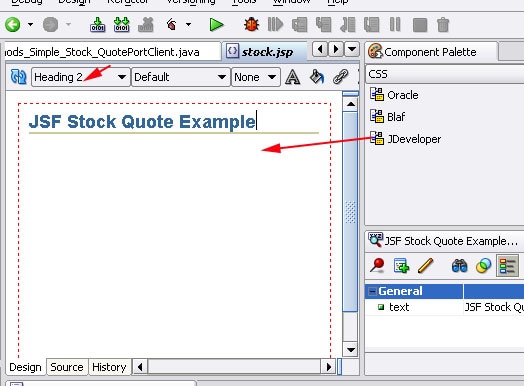
- Once your page is generated you can add some (h4 or h3) banner text and even a CSS (jdeveloper) to give it a nice look and feel.
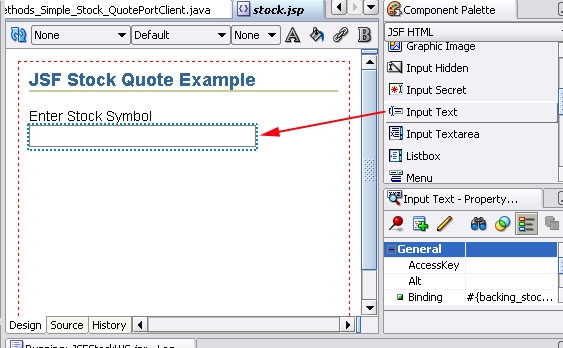
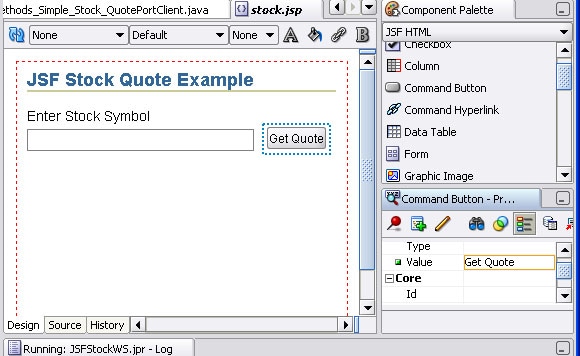
- Next you can add some text like "Enter Stock Symbol" and drag and drop a JSF Input Text component onto the page. (This component is located on the "JSF HTML" palette page.)
- Next, drop a Command Button onto the page and set it's Value property to "Get Quote" in the Property Inspector.
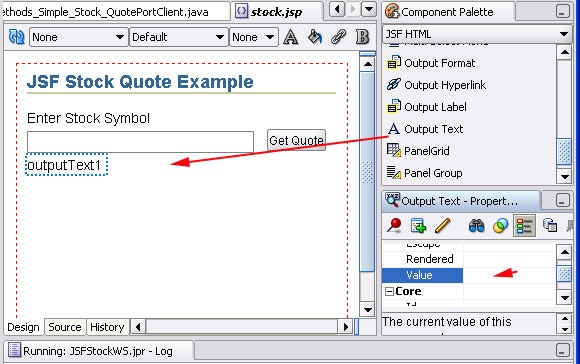
- Now drag and drop an Output Text component onto the page and delete it's default Value in the property inspector.
- Here comes the cool part! Double-click the Command Button in the visual editor,
and JDeveloper will automatically jump to the method in the code editor which is bound to the Command Button's action property.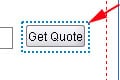
Important Note: JDeveloper as a default will auto-generate "backing code" when you drop components onto a page. It is also possible to manually create all of your backing code if your prefer, by turning off this setting.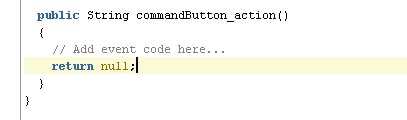
- Now we will modify the event code for the button to take the input field's value, call the Web Service with it and then display the results.
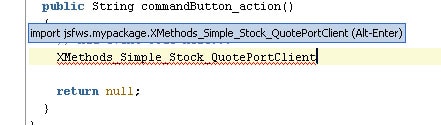
So for our first step, enter the name of your generated Web Service client class. It will be something like: XMethods_Simple_Stock_QuotePortClient.
Notice after your enter the class name, JDeveloper will recognize it and prompt you to import the package containing this class. Use (Alt-Enter) to import the package.
- After importing the package, finish the event code by adding the following code.
- Declare a String "result".
- Set it's value to the value returned when calling the client class' getStock() method using inputText1.getValue() as an argument to the method. (Note: You'll need to typecast it to (String).
- Then set the value of the outputText1 with the result returned from the Web Service call.
- Optional: You can return a "success" string which you could later use in a navigation case. (This is not needed for this HowTo.)
And that's it!!!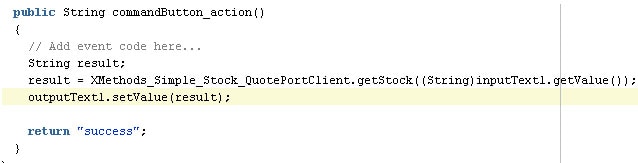
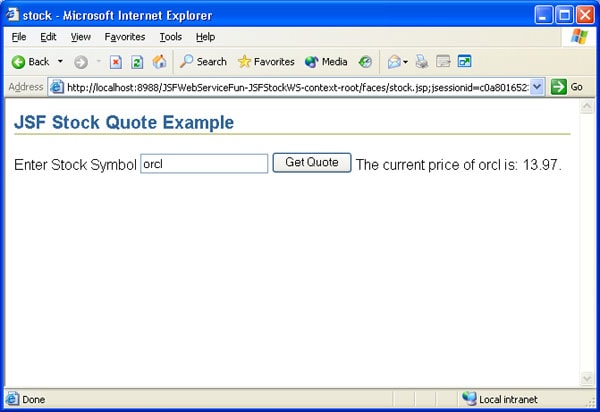
- Now when you run the page, you'll be able to enter a stock symbol in your input field and the current price will appear in the page!


Summary
This example shows how easy it is to quickly generate a set of Web Service client classes which you can then use in a JSF application. Feel free to experiment with different Web Services with both simple and complex types.