You are here: How To Guides > Running Jobs Using Data Interfaces

Running Jobs Using Data Interfaces

When a process including a Data Interface is included in a job, the user must configure how the Data Interface reads or writes data.

Note: Data Interfaces are used in readers or writers in processes. Therefore, the Mappings available during configuration will vary depending on how the Data Interface is implemented.

Configuring a Data Interface in a job

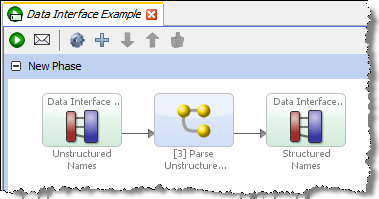
When a process containing a Data Interface is added to a job, it will appear as in the following example:

Any Data Interfaces that appear in the job must be configured in order for the job to run.

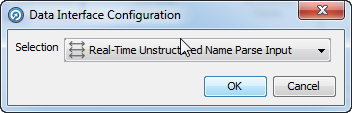
To configure each Data Interface:

  1. Double click on the Data Interface. The Data Interface Configuration dialog is displayed:
  2. Data Interface Configuration dialog

  3. Select the required Mapping in the Selection drop-down.
  4. Note: Different mappings will appear depending on whether the Data Interface is used in a reader or writer processor.

  5. Click OK to save, or Cancel to abandon.

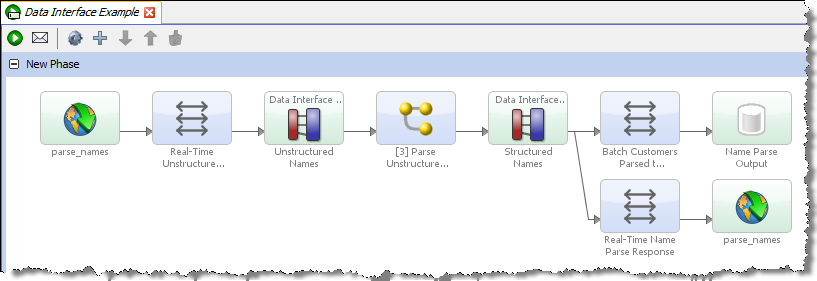
Once Data Interface mappings have been specified for each data interface in a job, both the mappings and the objects that they bind to appear in the job. This means the job can now be run. See the example job below.

Linking processes with a Data Interface

It is possible to link two or more processes that contain Data Interfaces, provided one is configured as a reader and the other as a writer.

  1. Add both processes to the job, as in the following example:
  2. Example of two processes with Data Interfaces being added to a job

  3. Double-click on one Data Interface, and select the other process in the Data Interface Configuration dialog:
  4. Click OK. The processes will be linked together:

Example - Job containing two Data Interfaces

In this example job, a process is used that both reads from and writes to Data Interfaces. The user selects mappings to allow the process to run in real time, but also to log its real time responses to staged data.

  1. First the user creates the job and drags the process onto the Canvas:
  2. Then the user double-clicks the input and output Data Interfaces to select the Mappings.
  3. For the input Data Interface, the user selects a web service input that has been mapped to the Data Interface:

  1. For the output Data Interface, the user selects both a 'Batch' (staged data) mapping, and a 'Real-Time' (web service output) mapping using the dialog below:
  2. The user clicks OK to save. The job appears as follows, and is now ready to be run or scheduled: