Creating Reports in Oracle SQL Developer 4.0
Overview
Purpose
This tutorial shows you how to create user-defined reports and generating them into PDF using Oracle SQL Developer 4.0.
Time to Complete
Approximately 25 minutes
Introduction
Oracle SQL Developer reports enable you to view information about (and information stored in) Oracle Database. In addition to the standard database reports offered in SQL Developer, you can create your own reports.
This tutorial covers the following activities in SQL Developer 4.0:
Prerequisites
Before starting this tutorial, you should have:
- Oracle Database 12c software available on the Oracle Technical Network (OTN) at Oracle Database Software Downloads
- Access to a privileged user like SYSTEM and to the HR sample schema
- Oracle SQL Developer 4.0 software available on the OTN at Oracle SQL Developer 4.0
Setting up the Environment
In this section, you set up the users and connections for the tutorial.
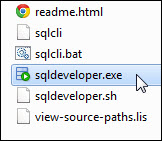
Double-click on sqldeveloper.exe to launch SQL Developer.
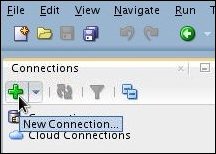
In the connections window, click New Connection.
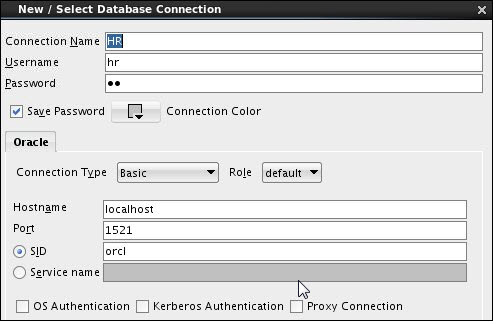
In the New / Select Database Connection dialog box, provide the following entries:
Name: HR
Username: hr
Password: Enter the password for your system.
Save Password: Select this check box
Connection Type: Basic
Role: default
Hostname: localhost
Port: 1521
SID or Service Name: Enter SID or
Service Name
Your screen should look similar to this:
Click Test then Connect to create the connection. The new connection will appear on the Connection Navigator.

Creating a Report
In this section, you create a report that displays information from the Departments table of the HR schema.
Click View, then Reports.
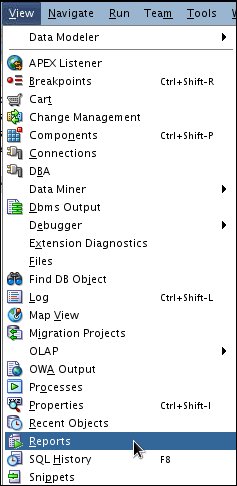
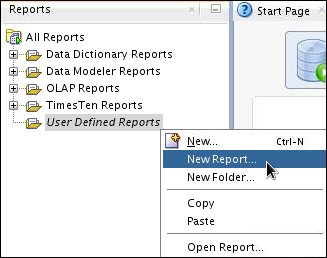
Reports Navigator is displayed. Right-click User Defined Reports and select New Report.
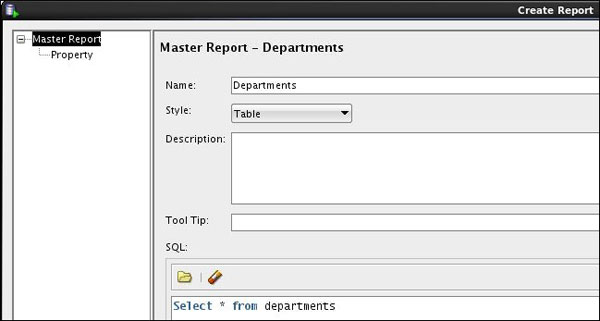
For the Master Report name, enter Departments.
For the style, select Table.
In the SQL text box, enter Select * from departments.
Your screen should look like this:
Click Apply.

The Departments report is added to the User Defined Reports tree.
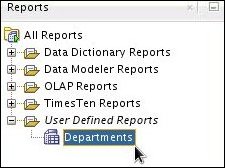
Click Departments to open the report.
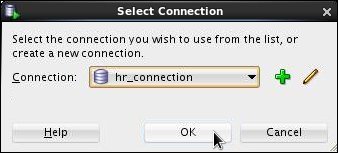
Select hr_connection, then click OK.
The Departments report is displayed.
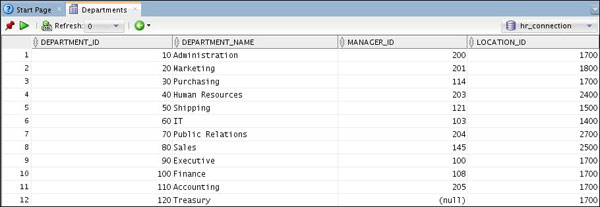
Adding a Child Report
You can create a child report (Employees) by editing the master report (Departments).
In the Reports Navigator under User Defined Reports, right-click Departments and click Edit.
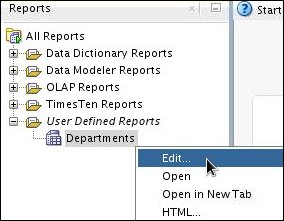
Click Add Child.

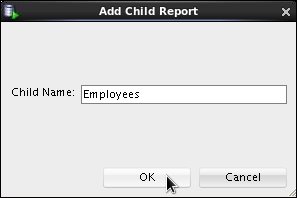
The Add Child Report dialog box is displayed. Enter the child report name, Employees, then click OK.
In the Reports Navigator, expand Child Reports.
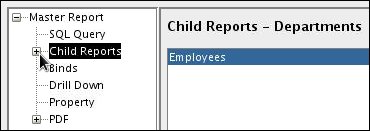
Click SQL Query.
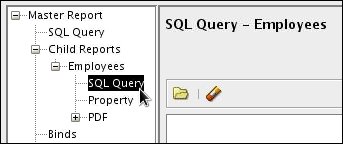
The Edit Report dialog box is displayed.
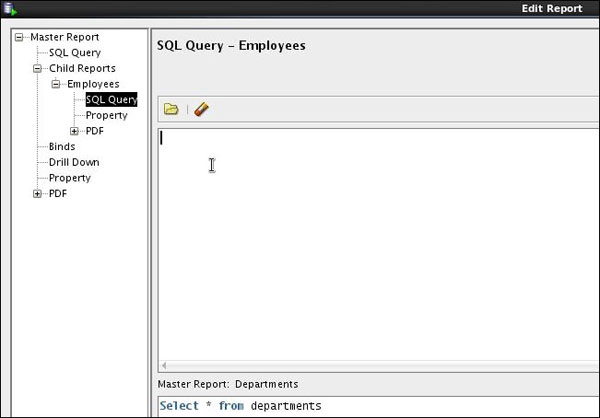
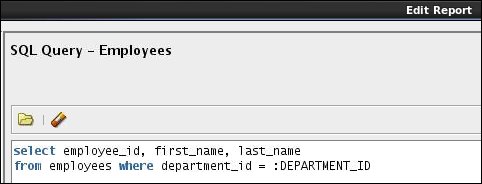
In the SQL Query - Employees text box, enter the following query:
select employee_id, first_name, last_name
from employees where department_id = :DEPARTMENT_ID
Your screen should look like this:
Click Apply.

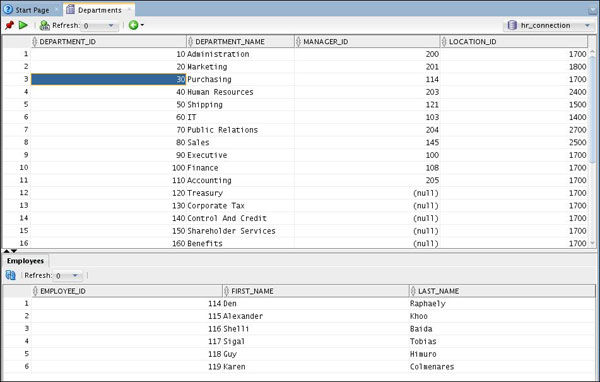
A skeleton child report (Employees) is displayed below the parent report (Departments).
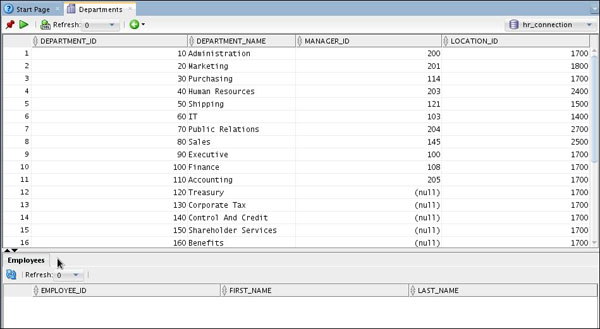
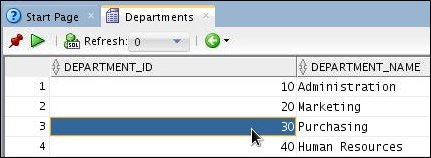
Click DEPARTMENT_ID 30
to produce an Employees report for the Purchasing department.
A list of employees for Department 30 is displayed in the bottom panel.
Generating a PDF Report
You can use SQL Developer to create PDF versions of your reports and add password protection for PDF reports that contain sensitive data.
Preparation: Creating a SQL Developer Report with Sensitive Data
Create a SQL Developer report containing employee salary information.
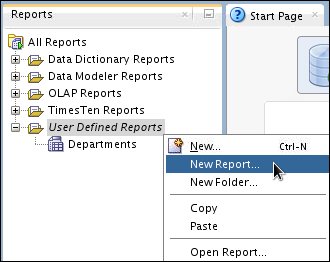
In the Reports Navigator, right-click User Defined Reports and select New Report.
For the report name, enter EmpSalary.
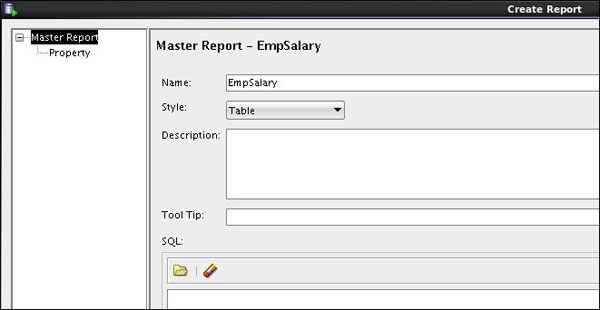
Select the Advanced check box to expose additional options in the Master Report tree.

Your screen should look similar to this:

In the Reports Navigator, click SQL Query.
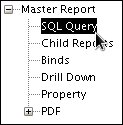
Enter the following query:
Select EMPLOYEE_ID, FIRST_NAME, LAST_NAME, JOB_ID, SALARY from
                            employees

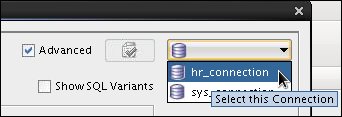
At any time, you can test your report. Select hr_connection to activate the test report button.
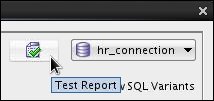
Click Test Report.
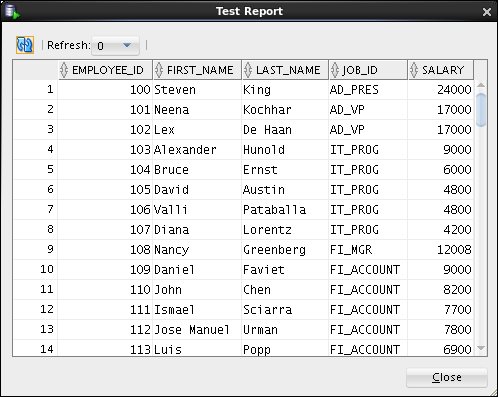
Review the test report and then click Close.
Click Apply.

Report EmpSalary is added to User Defined Reports.
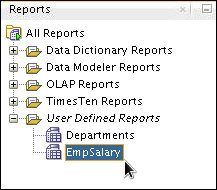
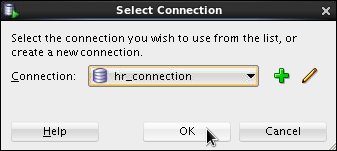
Click EmpSalary to generate the report. Use hr_connection.
The Employee salary report is displayed.
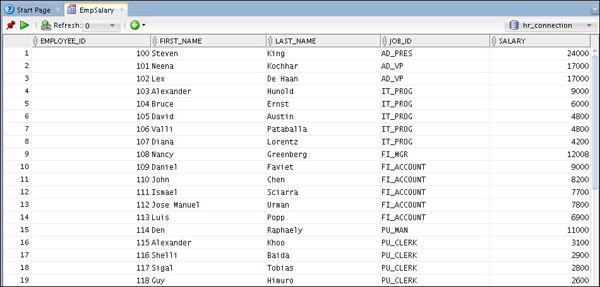
Review the report and then close it.

Setting PDF Report Options
Adjust PDF report settings to provide the appropriate look and feel for your PDF report.
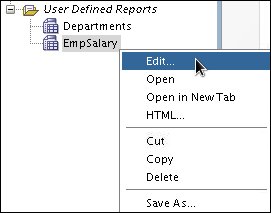
Right-click EmpSalary and select Edit.
Optional: In the Master Report tree, click PDF to open a dialog box in which to provide description, document, and font information as required by your company policies. (This information is not required for report creation.)
In the Master Report tree, expand PDF to reveal the settings that can be applied to your PDF reports.
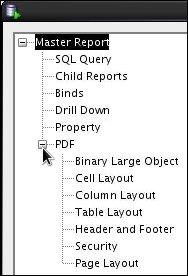
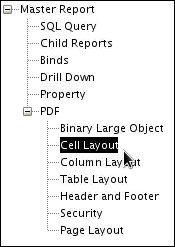
Click Cell Layout.
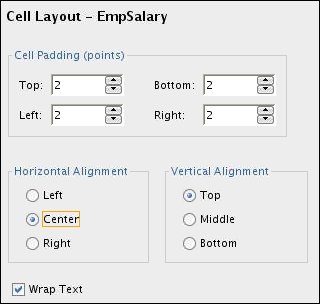
For Horizontal Alignment, select Center.
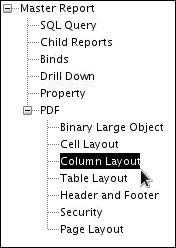
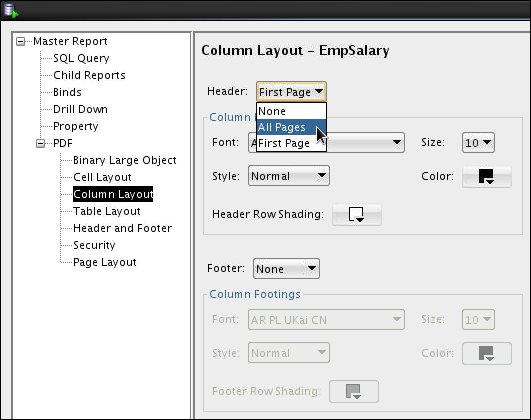
Click Column Layout.
In the Header list, select All Pages to provide a
header on each page of the report.
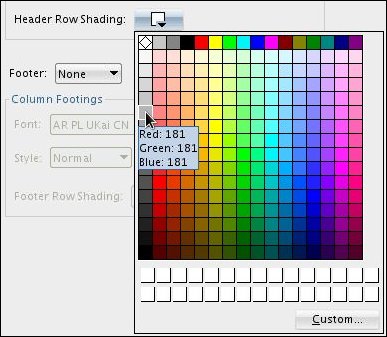
In the Header Row Shading list, click a medium gray color cell.
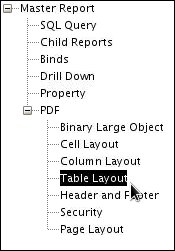
Click Table Layout.
Select Use Row Shading.
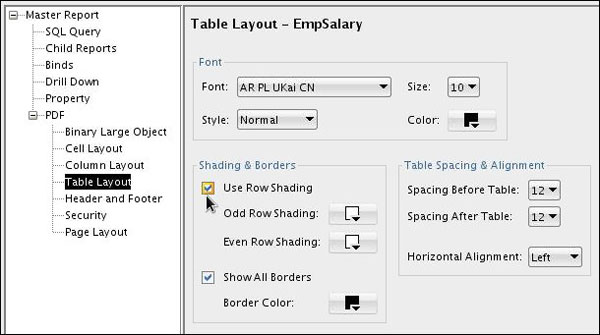
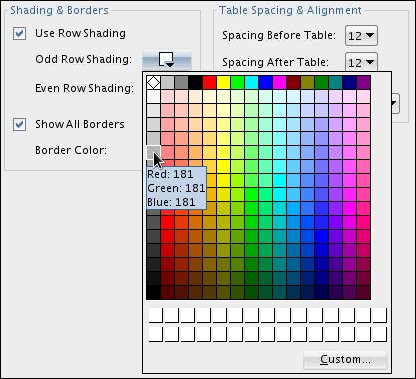
Select Odd Row Shading and choose a light gray cell.
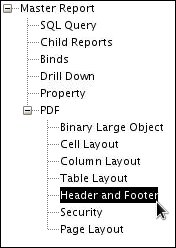
Click Header and Footer.
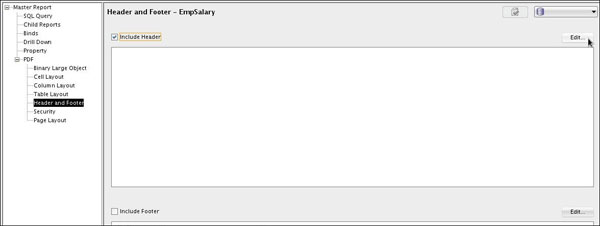
Select the Include Header check box, then click Edit to choose options for the header.
Select your desired font.

Click the font color box to the right of the font size dropdown arrow.
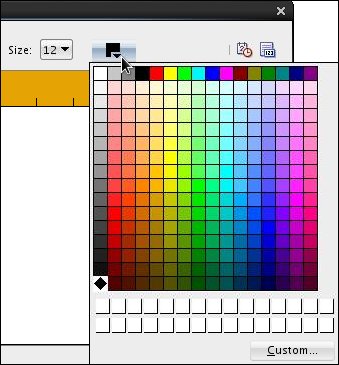
Select Red.
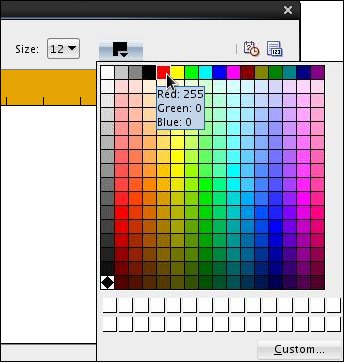
For the header, enter Salary by Employee ID.
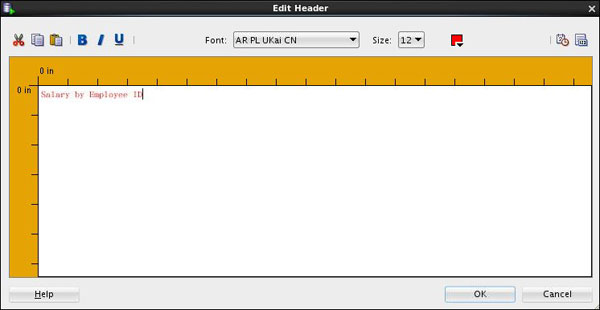
Click OK.
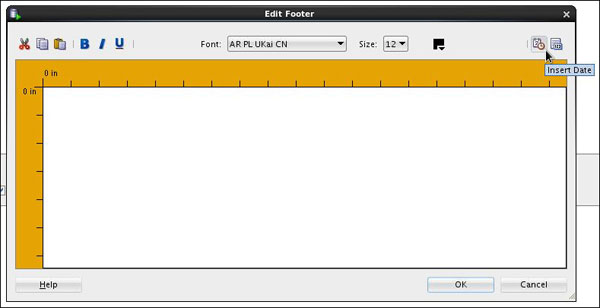
Select the Include Footer check box, then click Edit.

In the Edit Footer dialog box, click the Insert Date button.
Select Date/Time format mm/dd/yy hh:mm and then select the check box for Automatically Update Date.
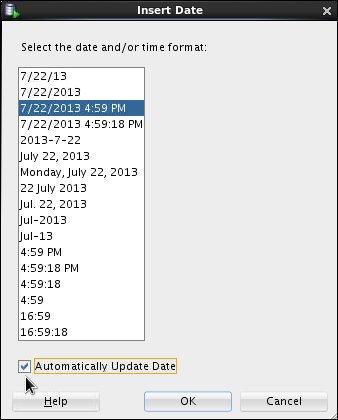
Click OK.
Press the Tab key three times.
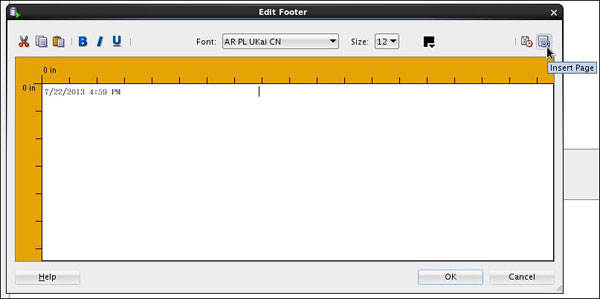
Type Page and press the
spacebar one time, then click the Insert Page button.
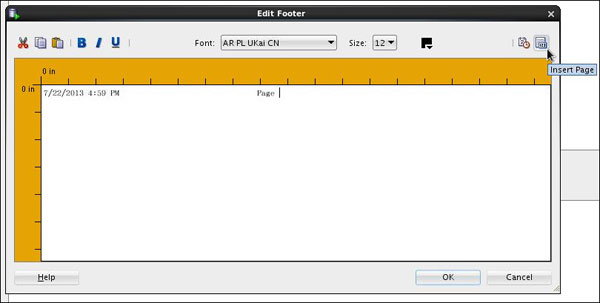
Click OK.
Click Page Layout.
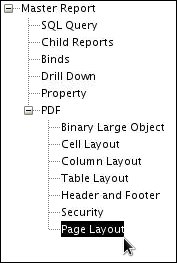
For Orientation, select Landscape.
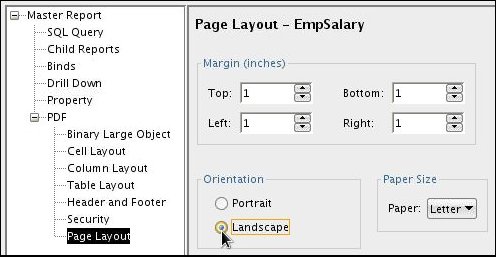
Click Apply to preserve all of the PDF settings.

Exporting to PDF
When a report is open, you can export it into PDF format. Export the EmpSalary report from SQL Developer to produce a PDF report.
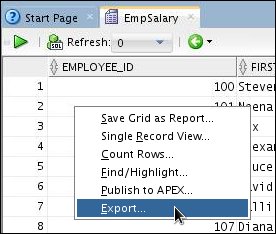
Right-click inside the EmpSalary report and select Export.
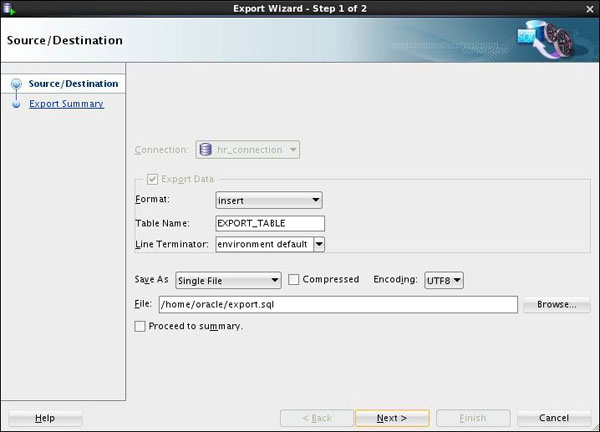
Export Wizard is displayed.
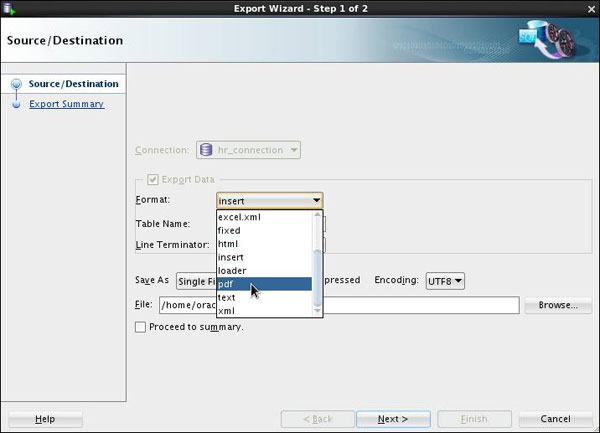
For the format, select pdf.
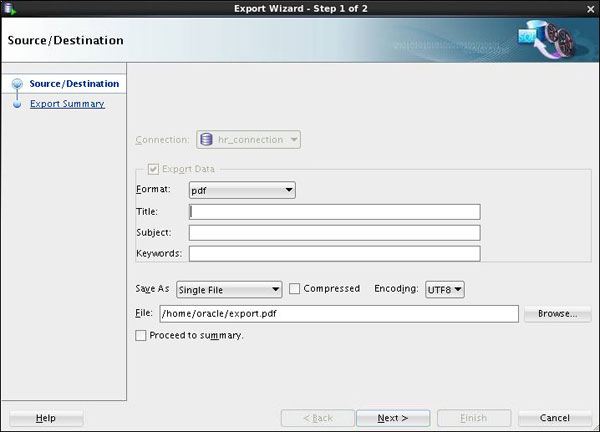
Optional: Provide title, subject, and keywords to comply with your company's document policies (not required for PDF report generation).
 >
>
Locate the File text box.

Change the file name from export to EmpSalary.
 >
>
Click Next.
 >
>
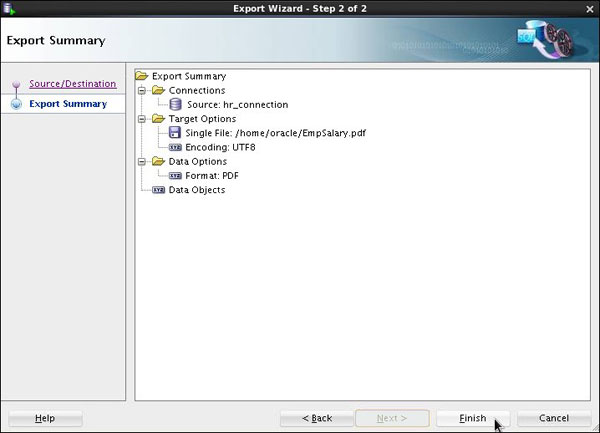
In the Export Summary, confirm your selections, then click Finish.
 >
>
The "Salary by Employee ID" report should look like this:

Adding Password Protection
To provide security for sensitive information, SQL Developer provides options for encryption and password protection of your PDF reports.
In the Master Report tree, click Security.
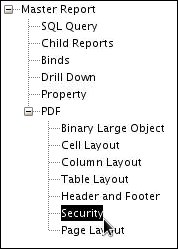
Select the check box for Enable Security for PDF Document to enable encryption.

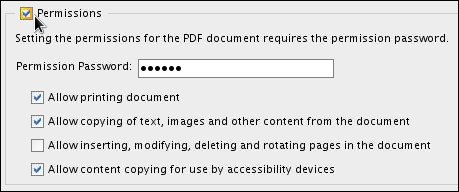
Select the check box for Permissions to enable authorized users to perform additional activities beyond reading the document (such as printing and copying document contents). Enter the Permission Password.
Select the check box for Require a Password to Open PDF Document.
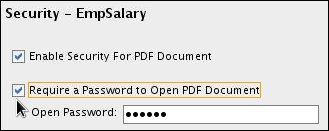
Enter the Open Password.

Select the radio button for Encrypt all document contents except metadata.

Click Apply.

Congratulations! You have completed the tutorial.
Summary
- Set Up the Environment
- Create a report
- Add a child report
- Generate a PDF report
- Password protect a PDF report
- Oracle Database Concepts - 12c Release 1 (12.1) available at Oracle® Database Concepts 12c Release 1 (12.1)
- Oracle Technology Network at Oracle Technology Network
- To learn more about Oracle technologies, visit the Oracle Learning Library
- Lead Curriculum Developer: Pete DeHaan
- Other Contributors: Ashley Chen, Nancy Greenberg
This brief tutorial showed you how to create reports using SQL Developer 4.
You learned how to:
Resources
For more information about creating reports using SQL Developer 4 and about Oracle databases, see the following Oracle resources:
 Overview