Exporting Differences Using Compares
Purpose
This tutorial covers how to export differences using compares.
Time to Complete
Approximately 30 min.
Overview
Compare Exports are useful when you want to output the results of a hierarchy comparison process, which identifies differences in nodes, relationships, or properties between two hierarchies or two versions of the same hierarchy. For example, you export the differences for a hierarchy between the current normal version and its baseline version.
For this type of export, configure the export wizard tabs as follows:
- Source—Select two hierarchies in the same version or in different versions. You can select normal, baseline, or as-of versions.
- Style—Select a join property to use for comparison purposes, and select the types of differences that you want to export.
- Filter—Define a query or validation. Only nodes that meet the query criteria or that fail the validation are exported. An inclusion query filters the nodes to be included in the comparison. An exclusion query filters the nodes after the comparison.
- Columns—Select properties for output columns in the export. You can select version, hierarchy, global, and local node properties, and you can include as many properties as needed. For example, you may want to include a node's name, description, and parent node name.
- Target—Specify whether to export results to a client file, a server file, or a database table. If you export to a database table, you must also specify the database table.
In this tutorial, you export differences using compares.
Prerequisites
Before starting this tutorial, you should have access to or have installed Oracle Hyperion Enterprise Performance Management 11.1.2.1.0 and Oracle Hyperion Data Relationship Management, Fusion Edition 11.1.2.1.0.
Exporting Differences Using Compares
In this topic, you create a Comparison export that outputs differences for the Employees hierarchy between now and 10 days ago.
. |
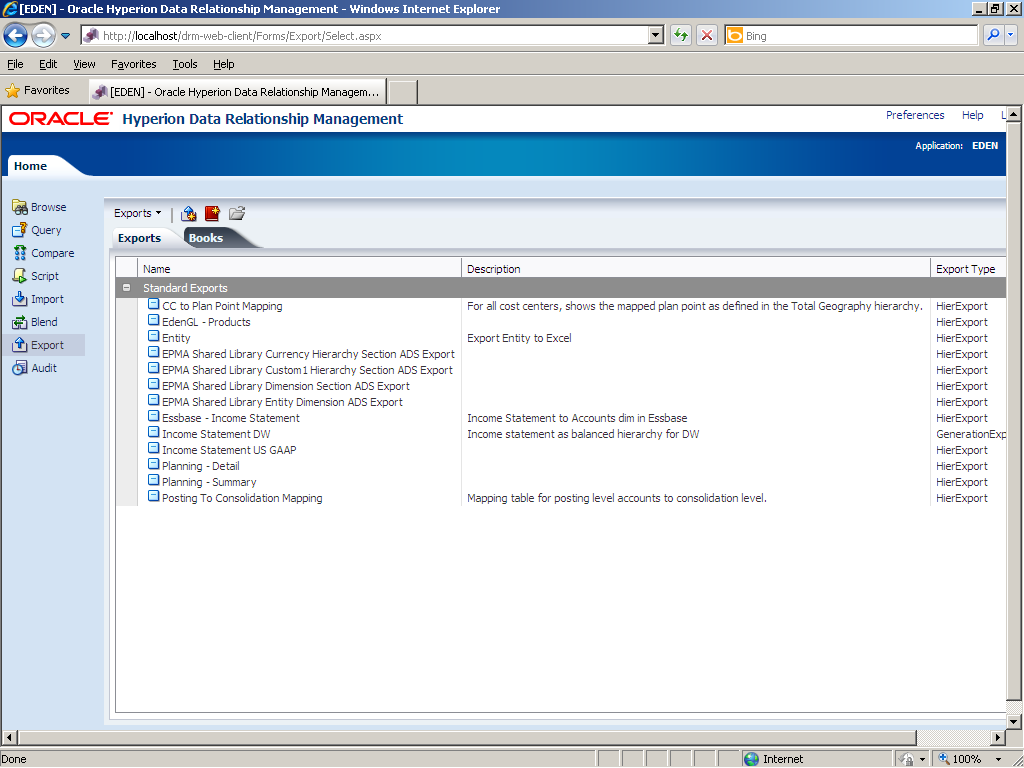
Begin by navigating to the Export task group. Use the Export task group to create and manage exports.
|
|---|---|
. |
Click the New Export (
Use the Choose Export Type dialog box to select an export type (hierarchy, comparison, version, property, or log).
|
. |
Click Compare.
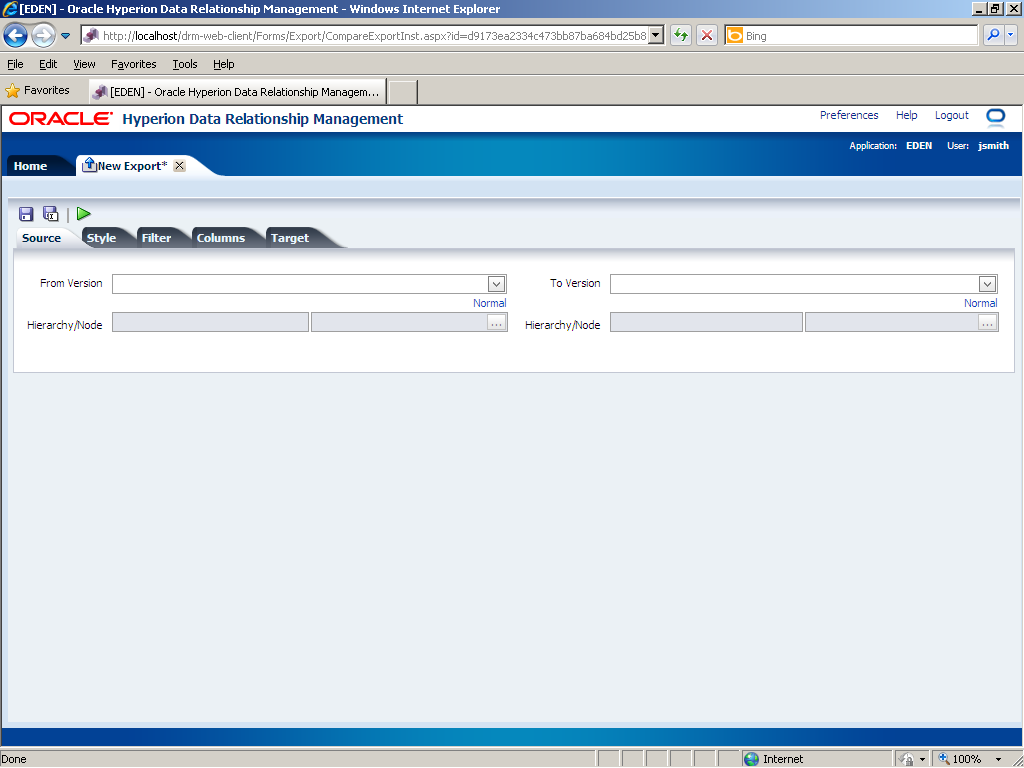
Use the export wizard to define the source, style, filter, columns, and target for the export. You begin on the Source tab.
|
. |
Use the Source tab to specify the two hierarchies that you want to compare. You can select normal and baseline versions, and you can create as-of versions. In the From Version drop-down list, select 2010 03 - Production.
|
. |
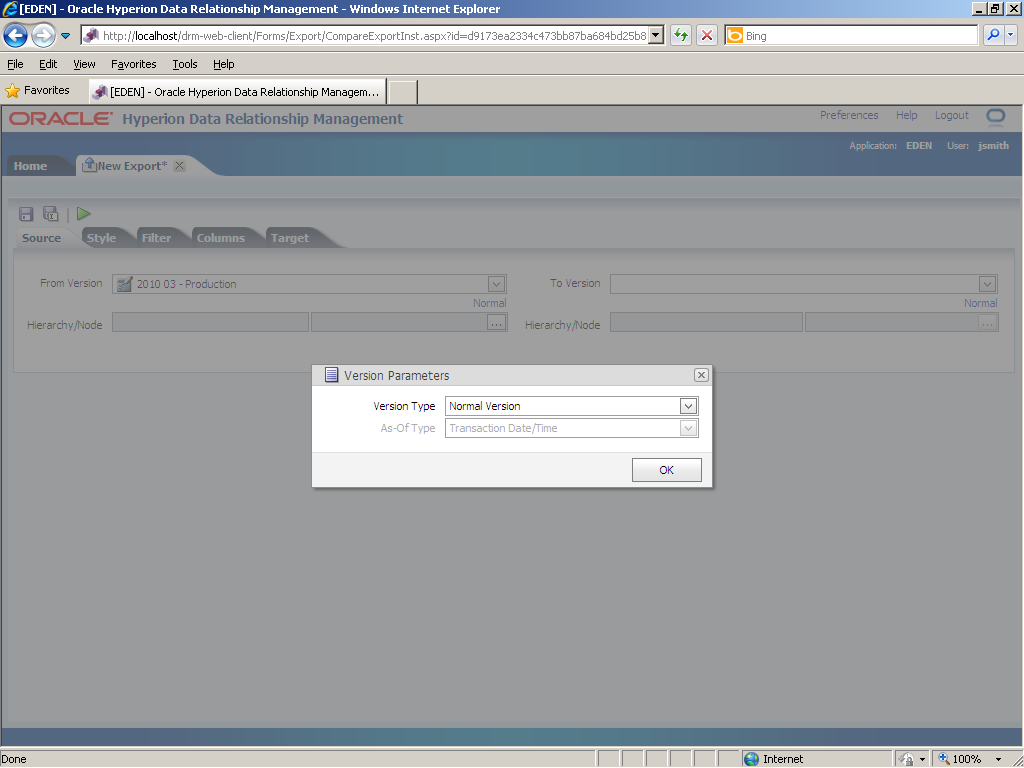
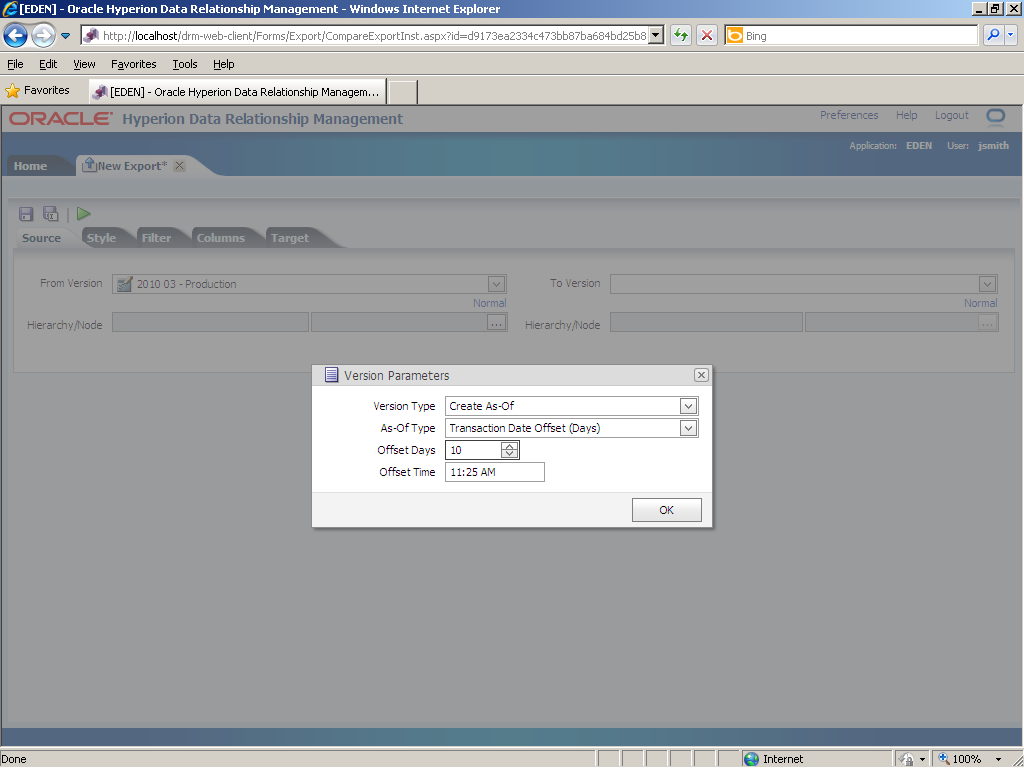
Click the Normal link.
Use the Version Parameters dialog box to configure the as-of version.
|
. |
Perform the following actions:
|
. |
Click OK.
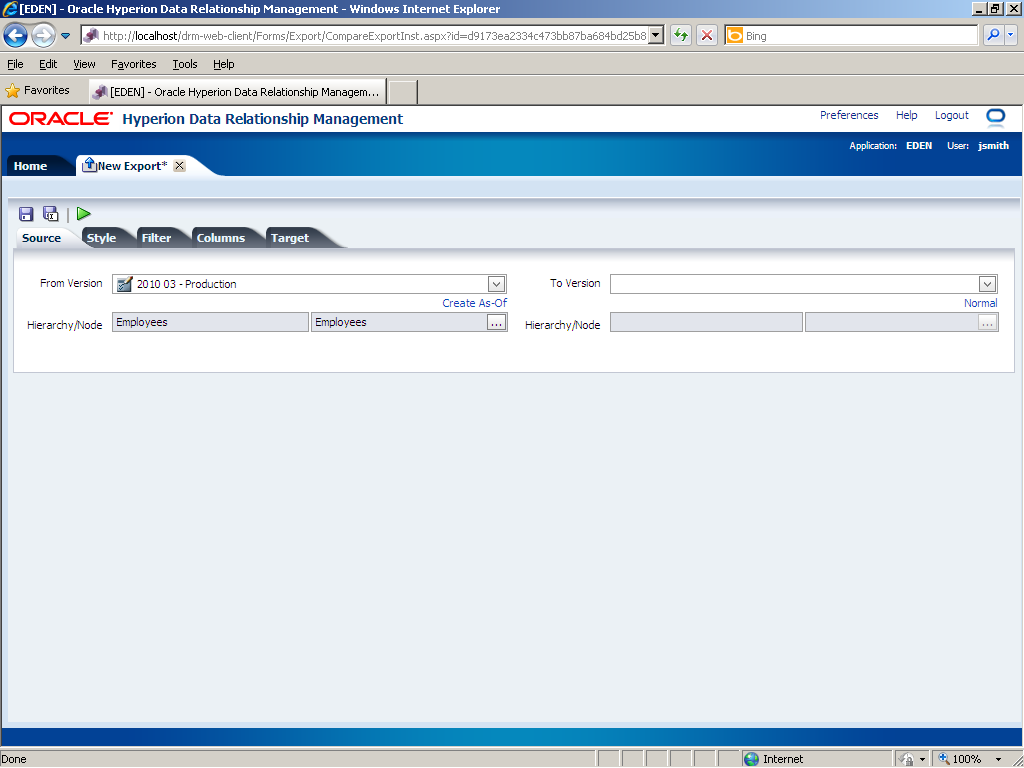
The Create As-Of link is displayed for the From Version.
|
. |
For the From Version, click the ... (
Use the Select Node dialog box to specify the hierarchy and top node for the From Version. In this example, you select the Employees hierarchy and Employees top node.
|
. |
In the Select Node dialog box, perform the following actions:
|
. |
Click OK.
|
. |
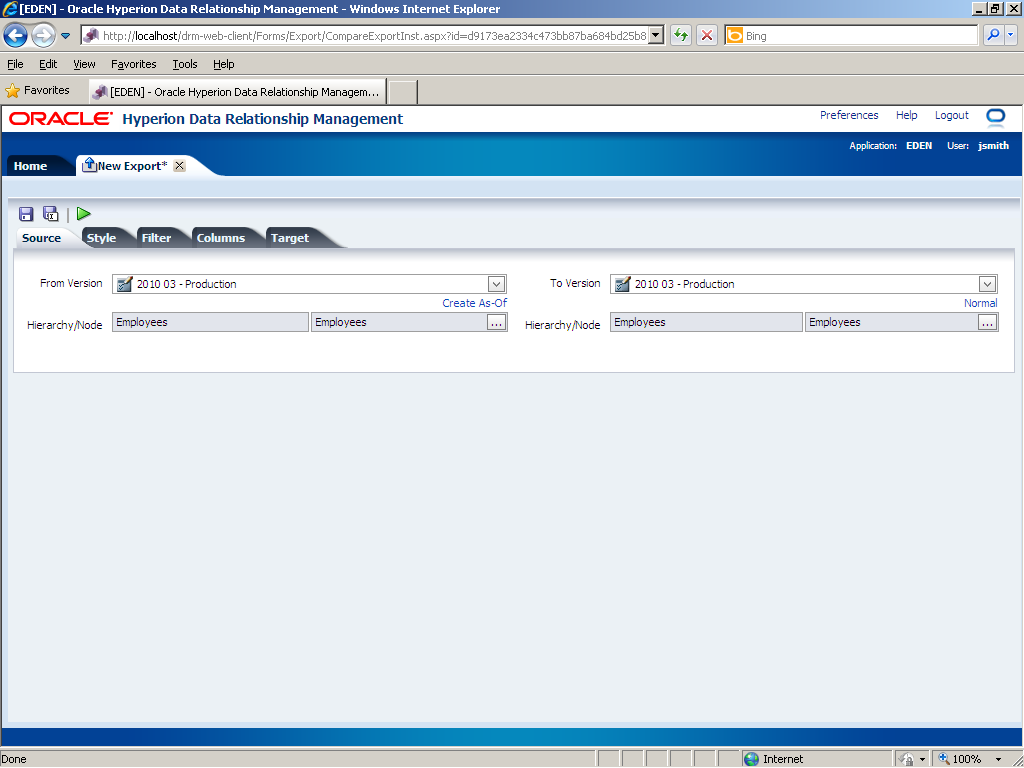
Use the To Version field to specify the second version. In this example, you specify the same version as the From Version; however, you use its normal version (the most current version). Perform the following actions:
|
. |
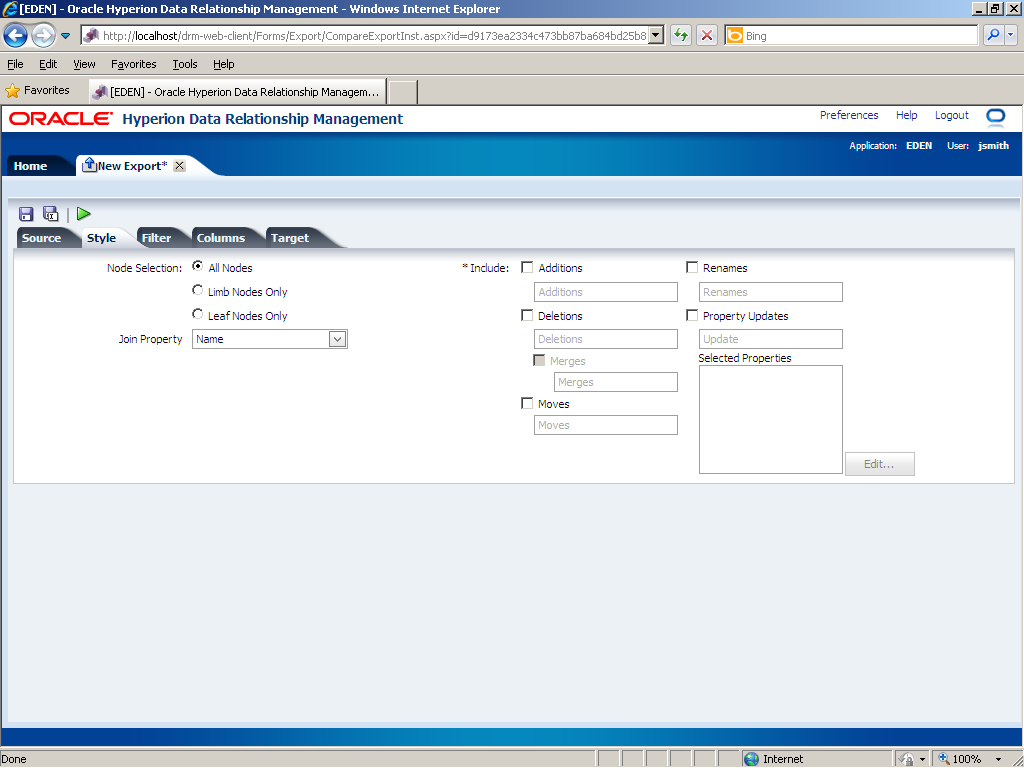
Click the Style tab.
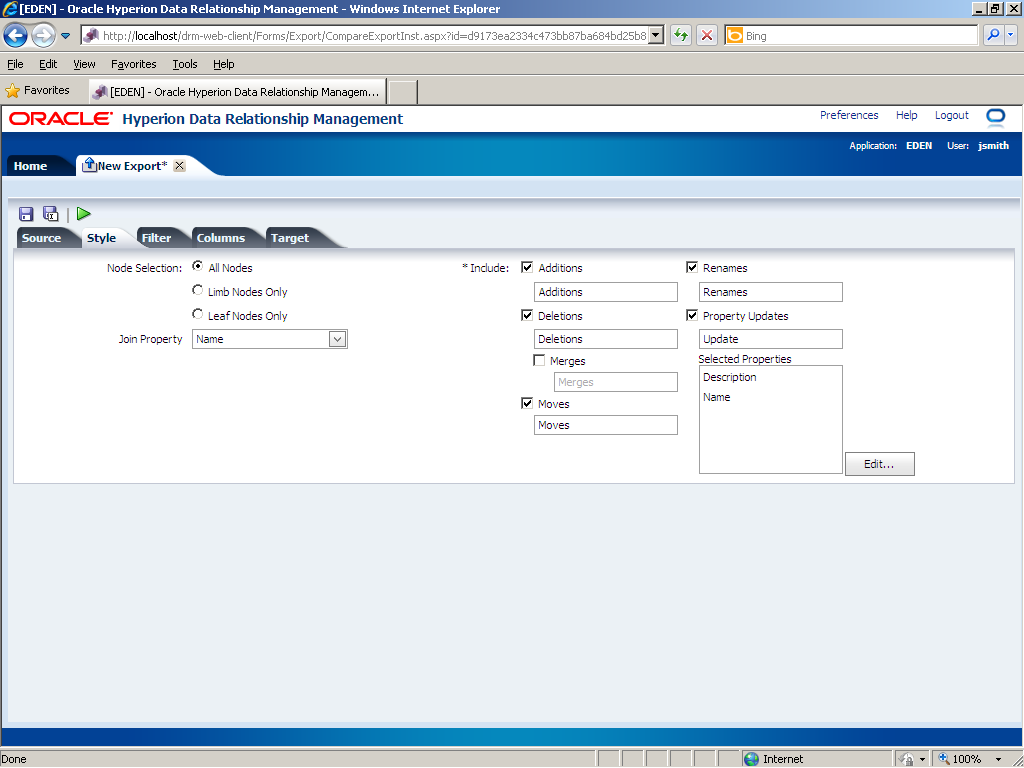
Use the Style tab to specify the type of nodes (all, leaf, or limb) and type of actions (additions, deletions, moves, removes, and property updates) to be included in the export. You also specify a join property.
|
. |
Perform the following actions on the Style tab:
|
. |
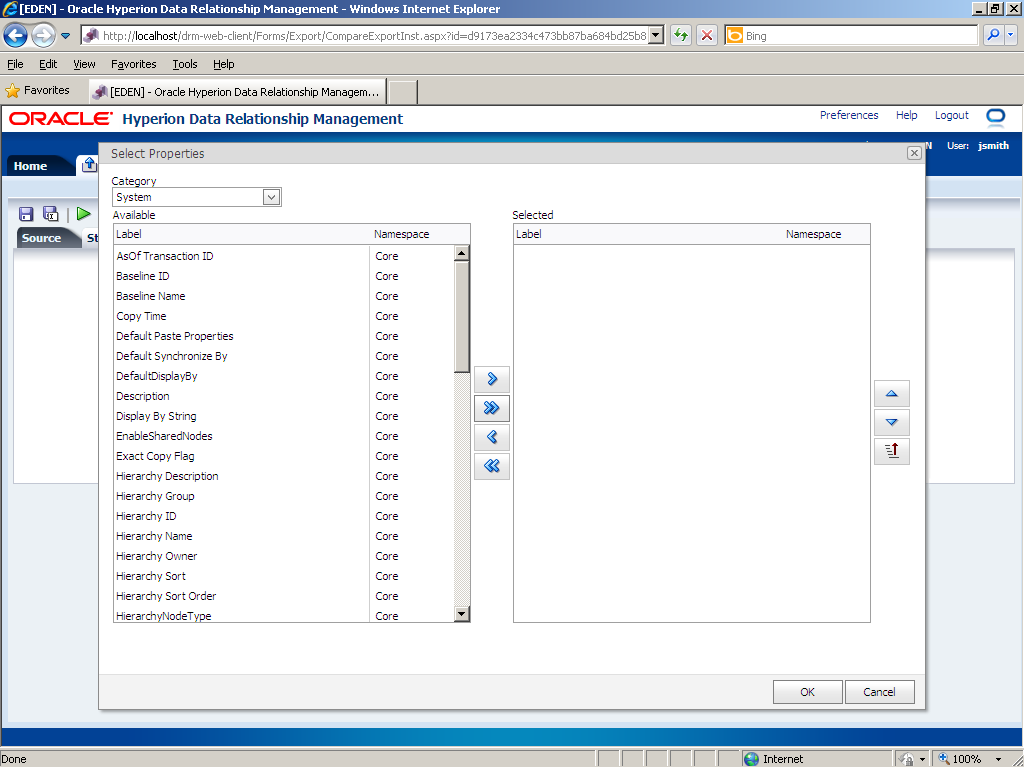
Click the Edit... button.
Use the Select Properties dialog box to select the properties that you want to compare. In this example, you select the Description and Name properties.
|
. |
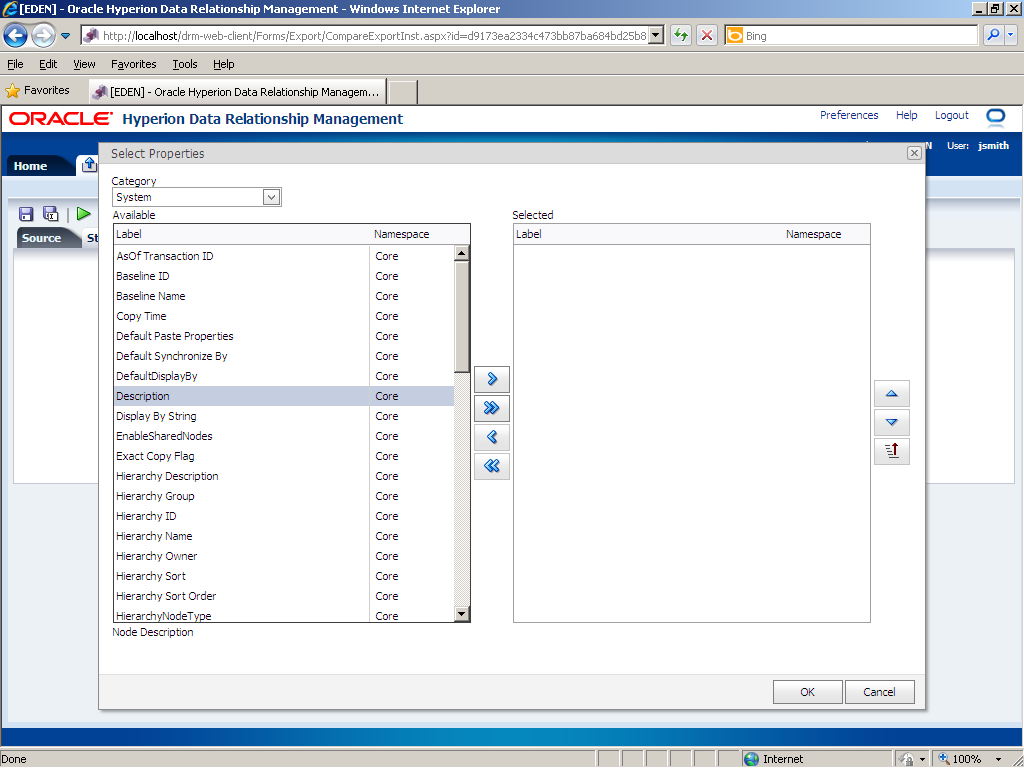
In the Available list, click Description.
|
. |
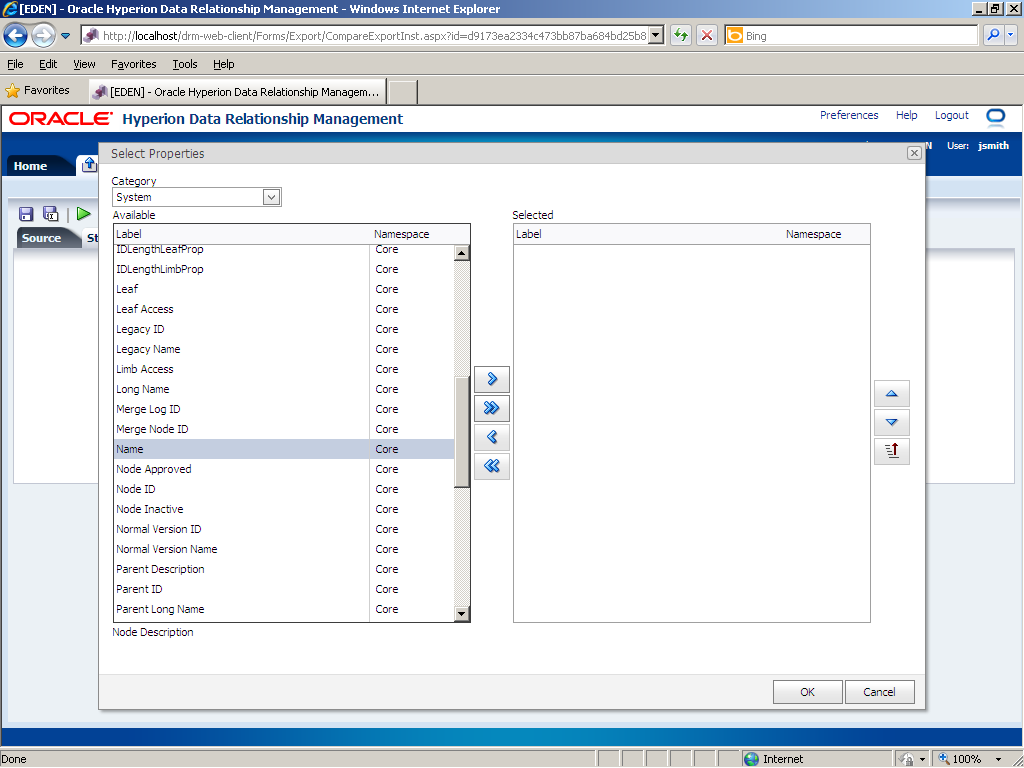
In the Available list, scroll down, press the [Ctrl] key, and click Name.
|
. |
Click the Select (
The Description and Name properties are displayed in the Selected list.
|
. |
Click OK.
|
. |
Click the Filter tab.
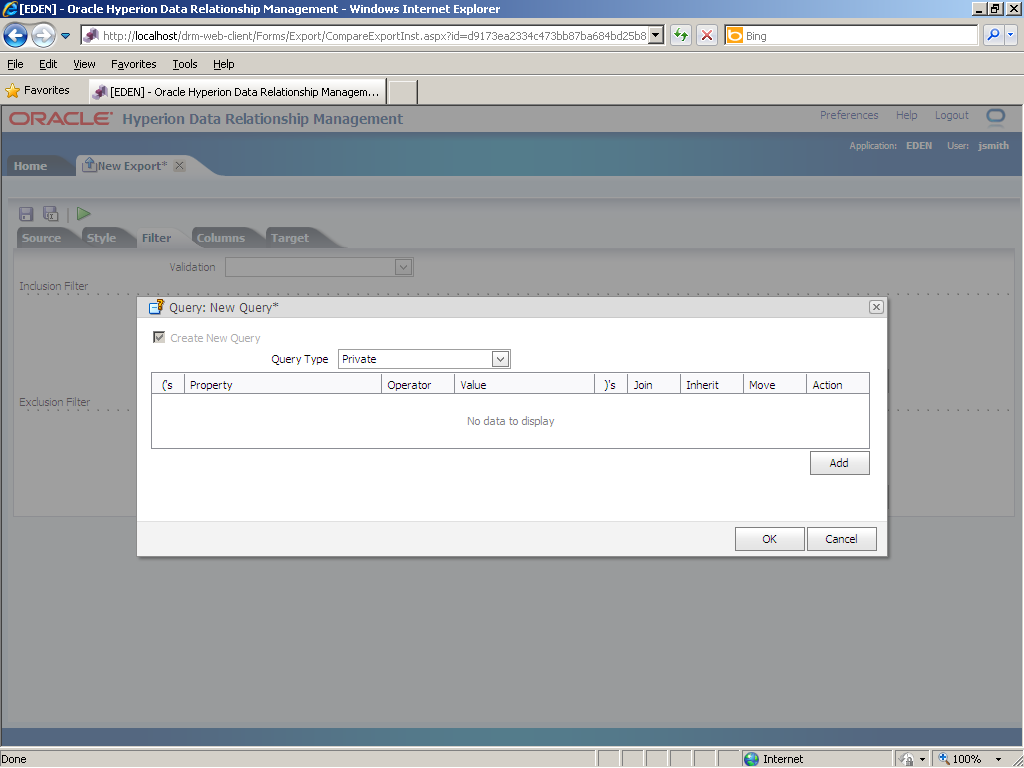
Use the Filter tab to define filter criteria for the exported data. Only nodes that fail the validation or that meet the query criteria are included in the export results.
|
. |
In this example, you define a query to return nodes whose Node Inactive property is equal to False. Click the … (
Use the Query: New Query* dialog box to enter the query criteria.
|
. |
Click Add.
|
. |
Perform the following actions:
|
. |
In the Action column, click the Update (
|
. |
Click OK.
The filter criteria is displayed in the Description field.
|
. |
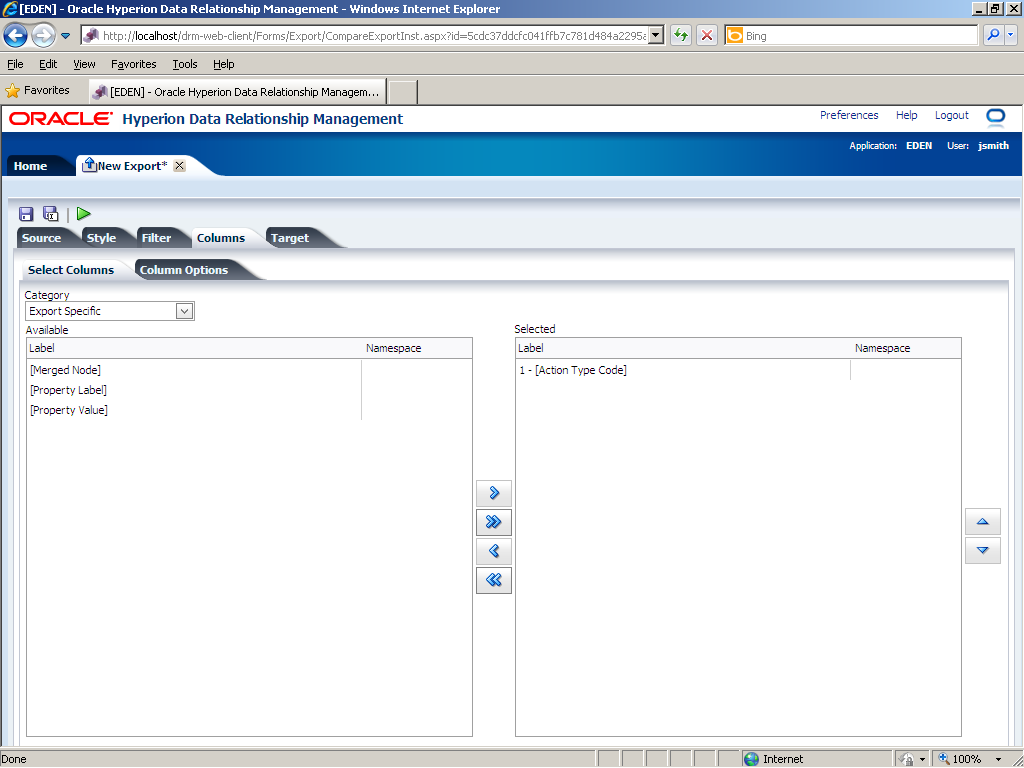
Click the Columns tab.
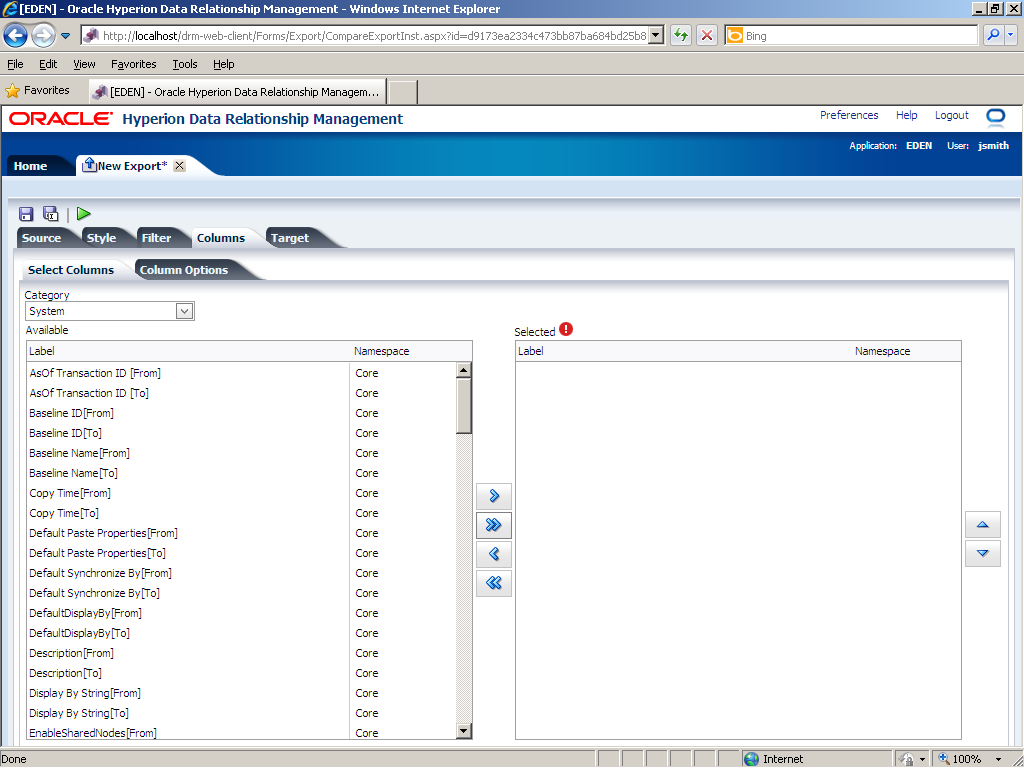
Use the Columns tab to select global properties and column options (pivot, skip defaults, and primary key) for the selected properties.
|
. |
In the Category drop-down list, select Export Specific.
|
. |
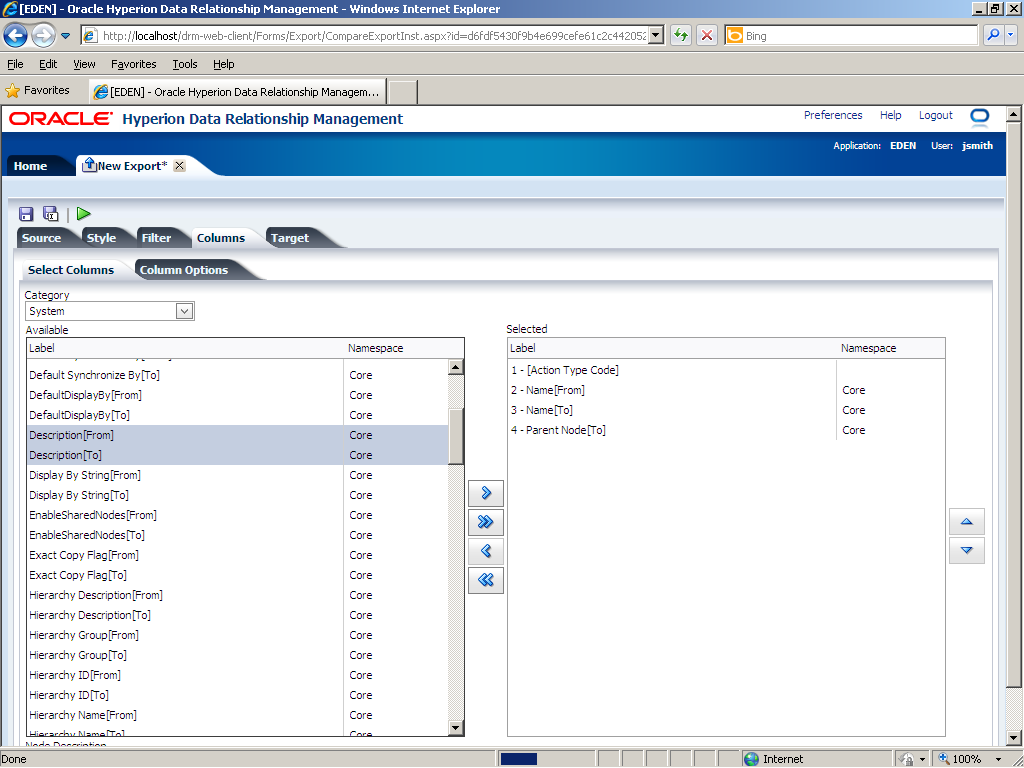
In the Available list, click [Action Type Code].
|
. |
Click the Select (
[Action Type Code] is displayed in the Selected list.
|
. |
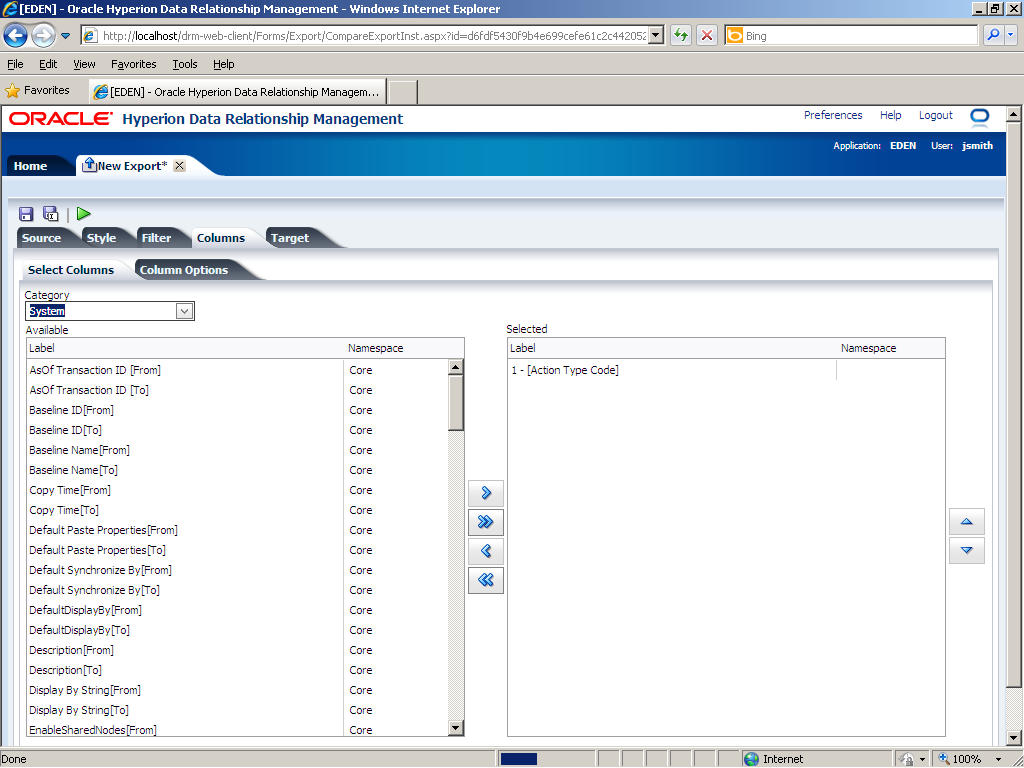
In the Category drop-down list, select System.
|
. |
In the Available list, click Name[From].
|
. |
Press the [Ctrl] key and click Name[To].
|
. |
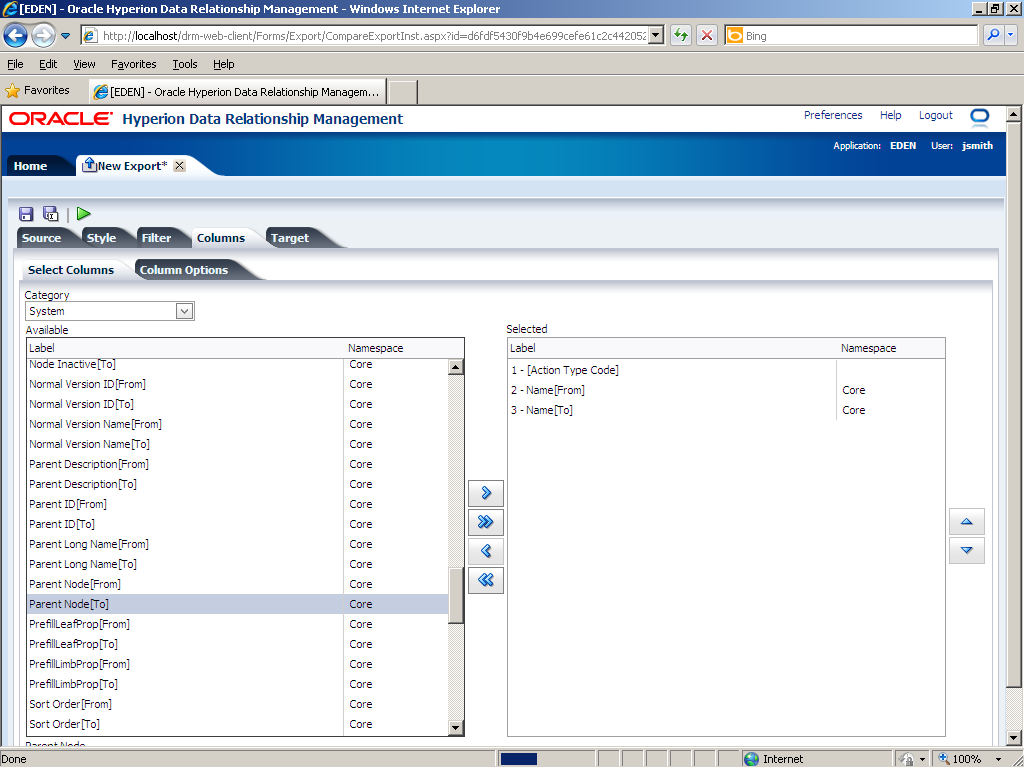
Click the Select (
Name[From] and Name[To] are displayed in the Selected list.
|
. |
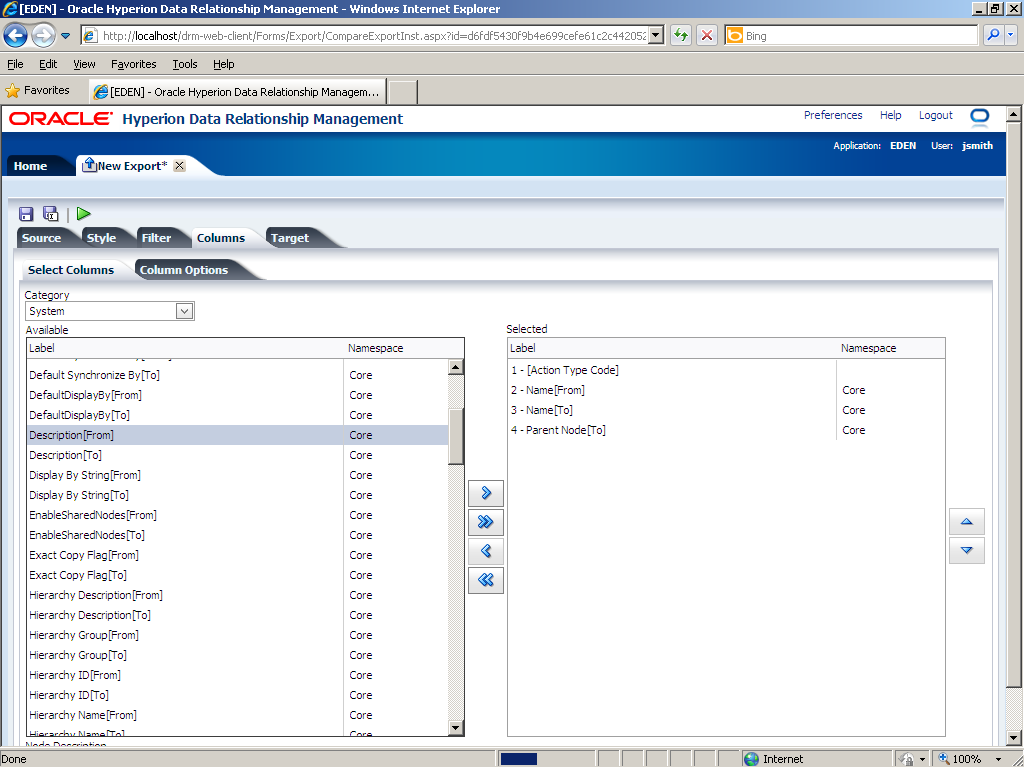
In the Available list, scroll down and click Parent Node[To].
|
. |
Click the Select (
Parent Node[To] is displayed in the Selected list.
|
. |
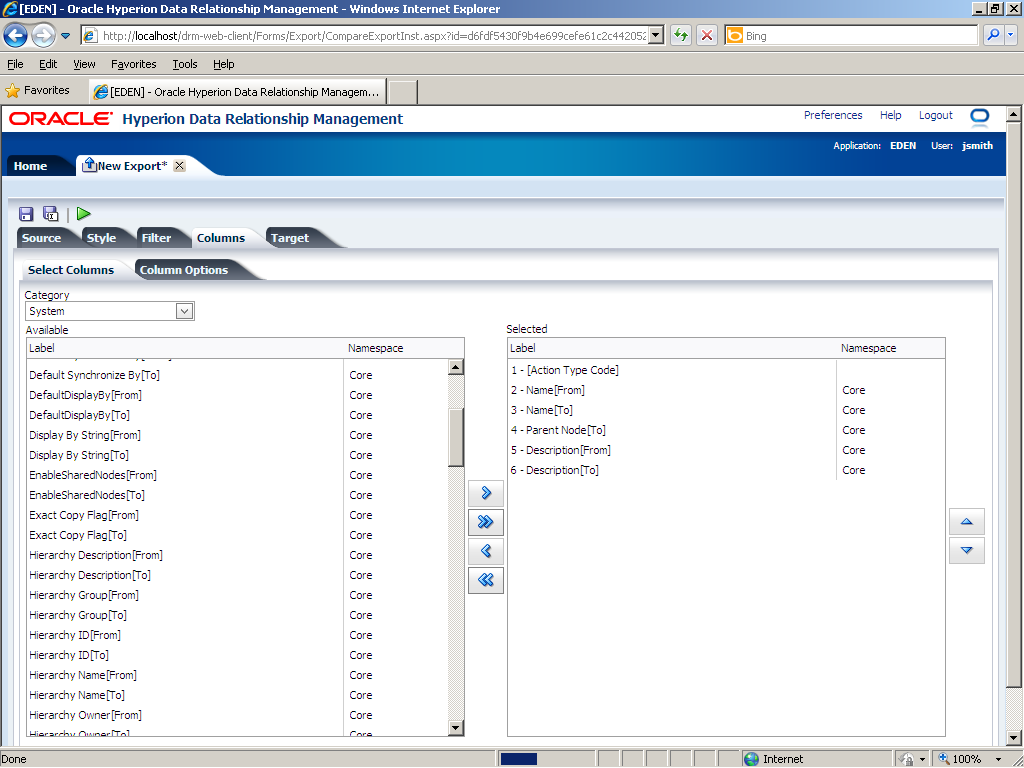
In the Available list, scroll up, click Description[From], then press the [Ctrl] key and click Description[To].
|
. |
Click the Select (
Description{From] and Description[To] are displayed in the Selected list.
|
. |
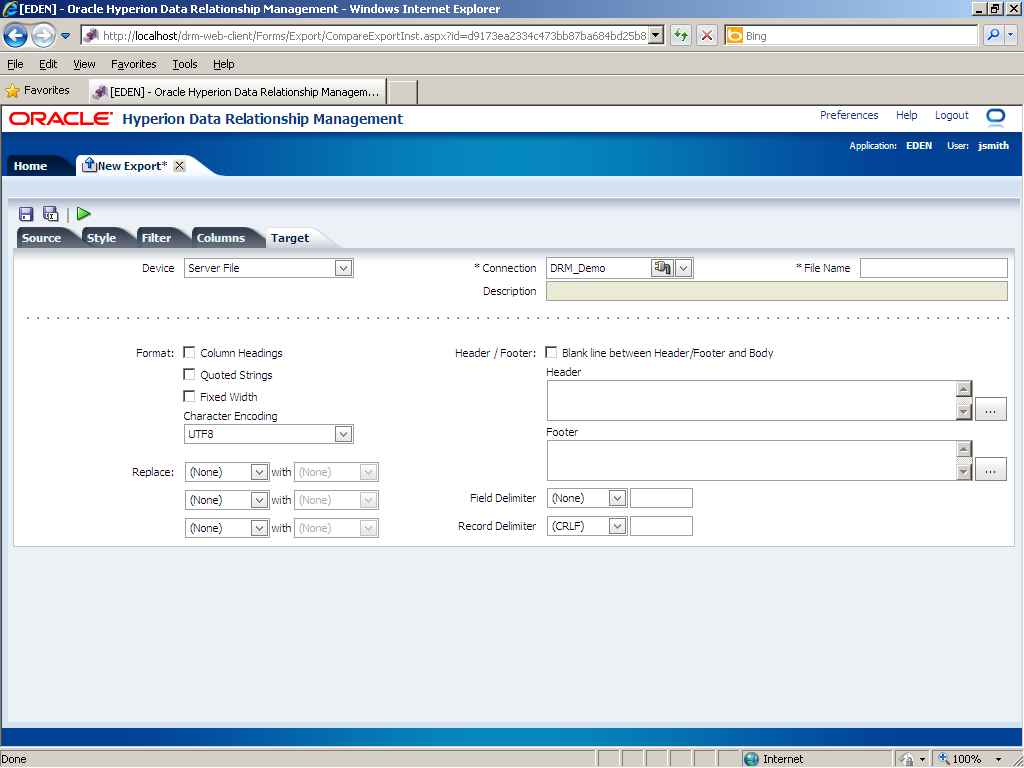
Click the Target tab.
Use the Target tab to configure where the data is to be exported and the format of the exported results.
|
. |
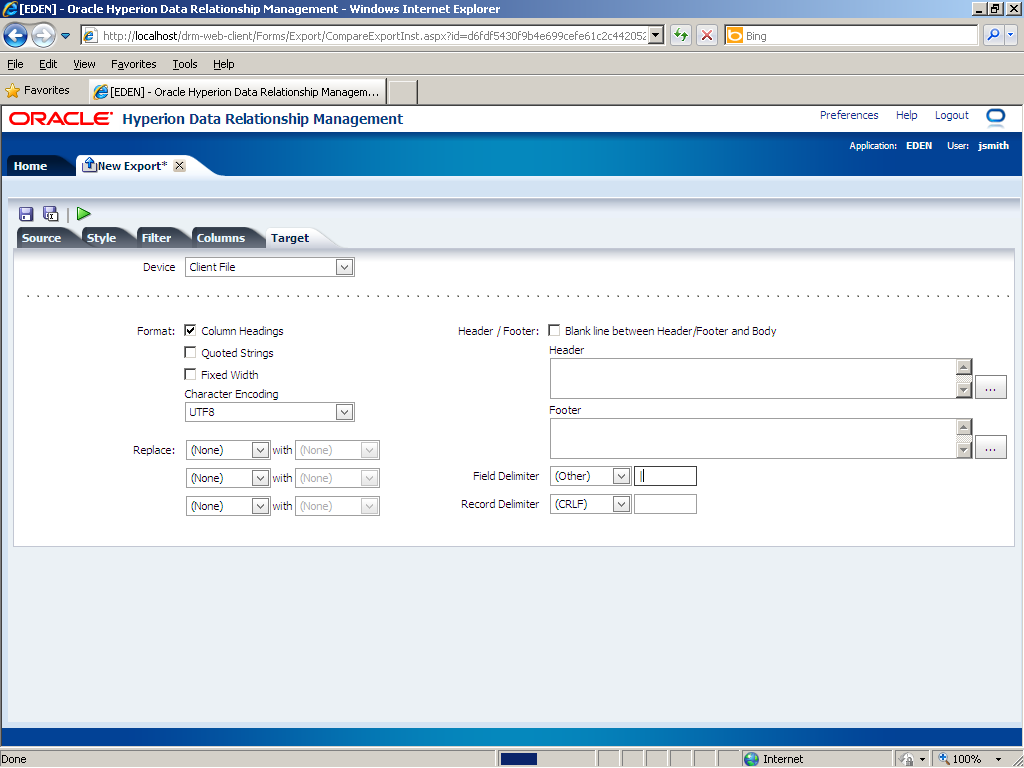
In the Device drop-down list, select Client File to export data to a client file.
|
. |
Perform the following actions:
|
. |
Click the Run (
The File Download dialog box is displayed. Use the File Download dialog box to open or save the export results. You can also cancel the export, if necessary.
|
. |
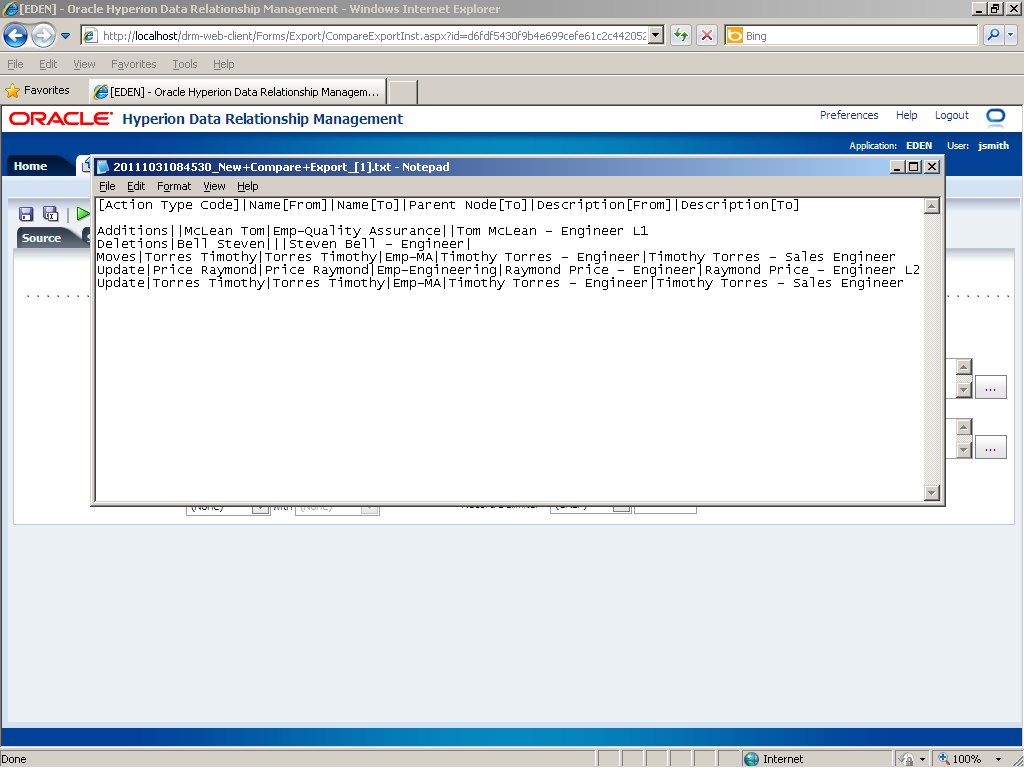
Click Open.
The export results are displayed in Notepad. The first row contains column headings.
|
 ) button.
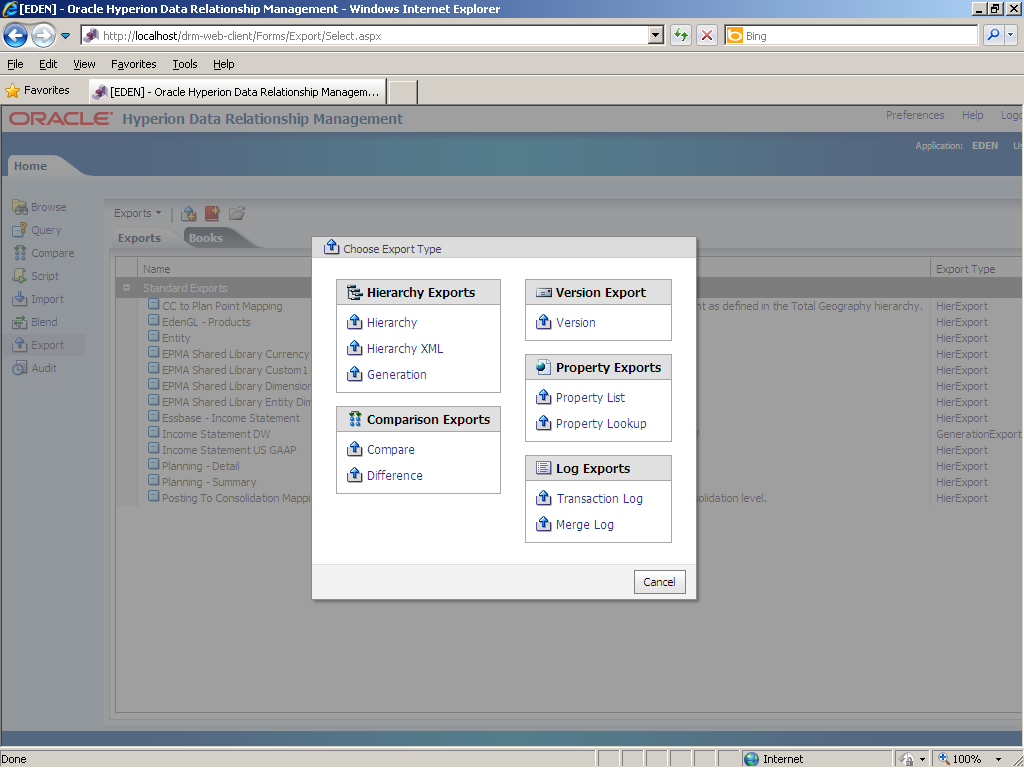


 ) button.


 ) button.
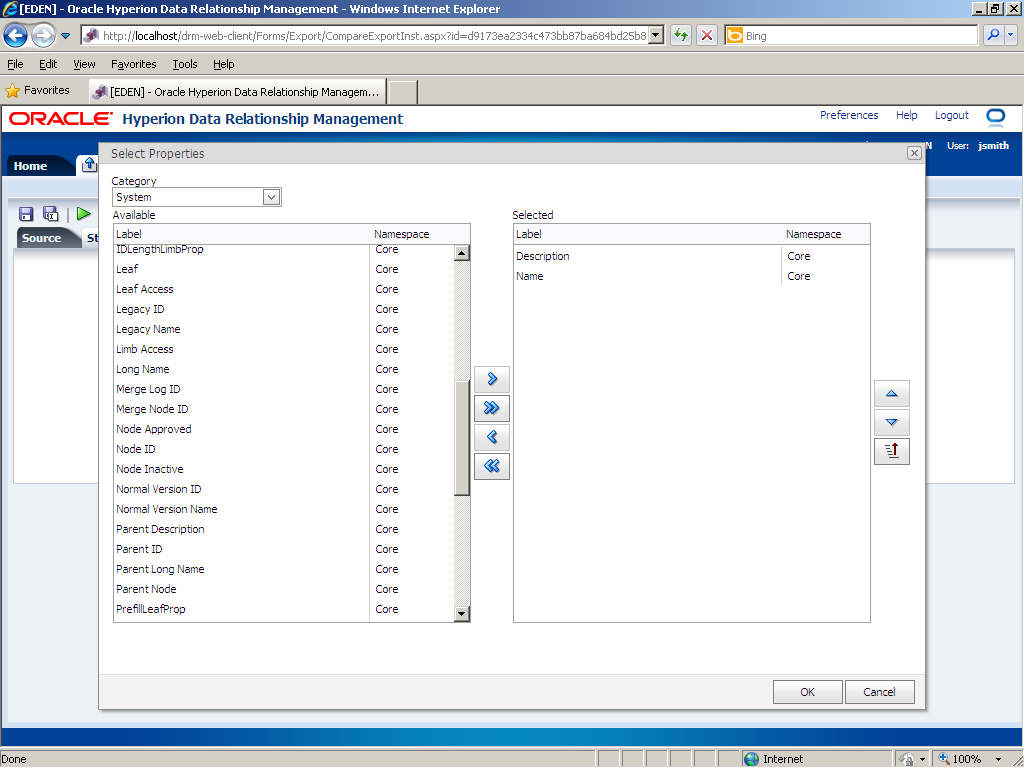


 ) button.
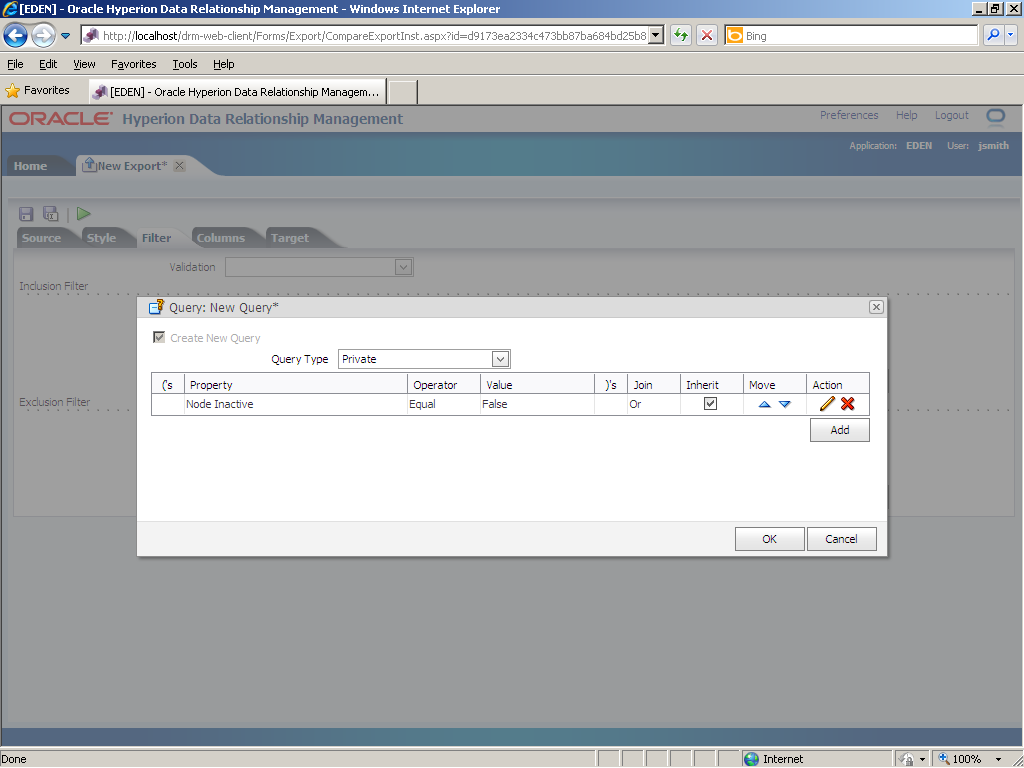


 ) button to process the export.
Summary
In this tutorial, you have learned how to export differences using compares.
Resources
- Oracle EPM System, Fusion Edition 11.1.2.1 Documentation Library
- To learn more about Data Relationship Management, refer to additional OBEs in the OLL Web site
![]()