Managing Oracle Cloud Users and Roles Using My Services
Overview
Purpose
This tutorial covers how to manage users and roles using the Security tab of the My Services application of Oracle Cloud.
Time to Complete
Approximately 20 minutes
Introduction
The Oracle Cloud is based on the Oracle Identity Manager product. This enables you to add and remove users, grant them permissions related to administration and usage of the service, and connect credentials across multiple instances you have purchased.
In this tutorial, you review your own user profile, change your password, set your security questions and review your current roles. In addition, you create a new user and assign the user to a variety of roles at different times to see the differences between them.
Prerequisites
Before starting this tutorial, you should have performed the following tutorials:
Accessing the Security Tab of My Services
To manage users and roles for your service, sign in to the Oracle Cloud My Services application. Perform the following steps:
Open a browser and enter the following URL:
http://cloud.oracle.com
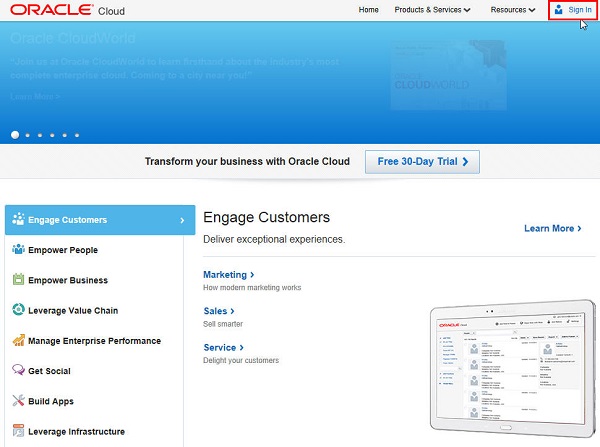
Click Sign In.
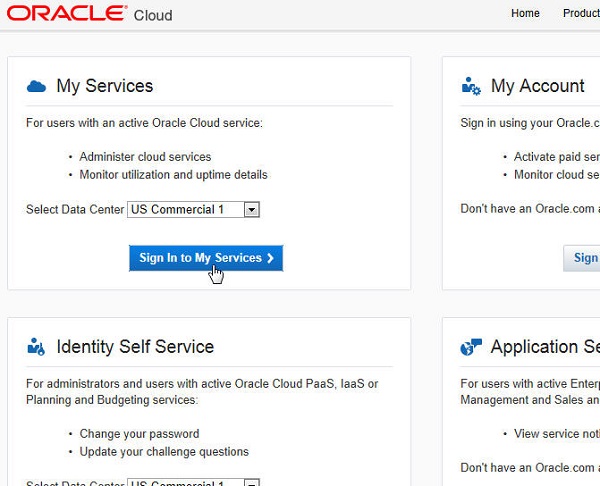
Make sure the correct Data Center for your service is selected and click Sign In to My Services.
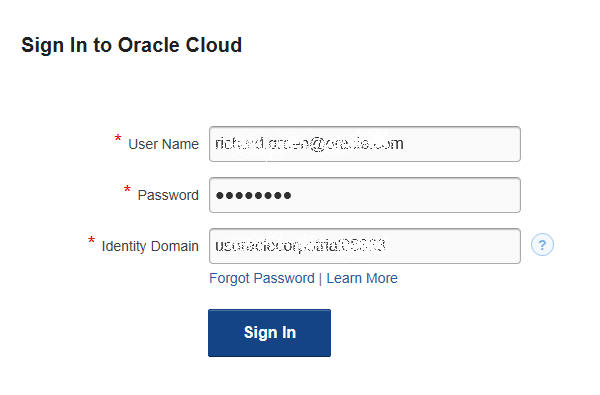
If a sign in window appears, enter your username, password, and the Identity Domain name you received when you started your Oracle Cloud service. Then click Sign In.
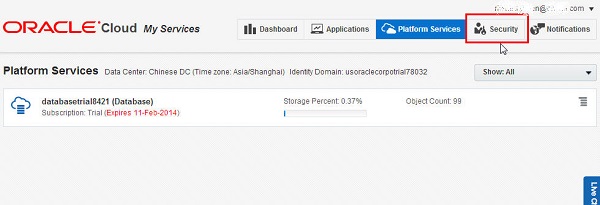
The My Services application opens. To manage users and roles, click the Security tab.
The Security tab opens at the Users
sub-tab. Since I'm logged in as the identity domain
administrator, I will see all user accounts in the identity
domain that I administrator. This example shows only my user
name listed, since I have not yet added any other users.
Click the icon with 4 horizontal bars at the right. The
pop-up menu indicates that this is where the Identity Domain
Administrator can modify a user's name, reset a user's
password, manage their roles, or remove the user.

Click the SFTP Users tab. This tab shows the 2 SFTP users that the system creates for you. The first is the domain SFTP user for data transfers at the identity domain level. The second is the service SFTP user for data transfers to and from a particular service..

Click the Roles tab. The system provides these 4 predefined database-oriented roles because I ordered an Oracle Cloud Database Service subscription: Identity Domain Administrator, Database Administrator, Database Developer, and Database User. As the Identity Domain Administrator, you can assign and revoke these roles to your users.
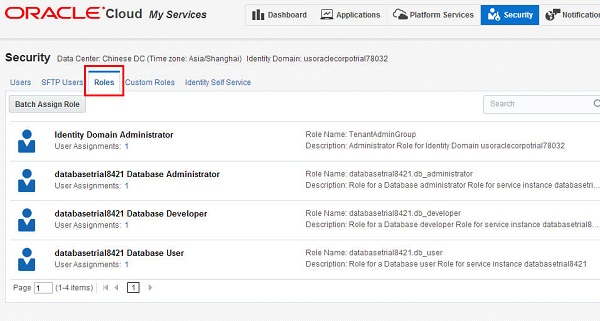
Click the Custom Roles tab. Here you can add custom roles for your user.

Click the Identity Self
Service tab. This is the only tab that
non-administrative, general users will see when they log in
to My Services and click the Security tab. Here users can
change their password and change the challenge questions
that will help them reset their password if they forget it.
In the next section, you create a new user.

Creating a New User and Assigning Roles
You are now ready to create a new user and assign the user roles. Note that only Identity domain Administrators can create users. Both Identity domain Administrators and Service Administrators can assign or revoke roles. Perform the following steps:
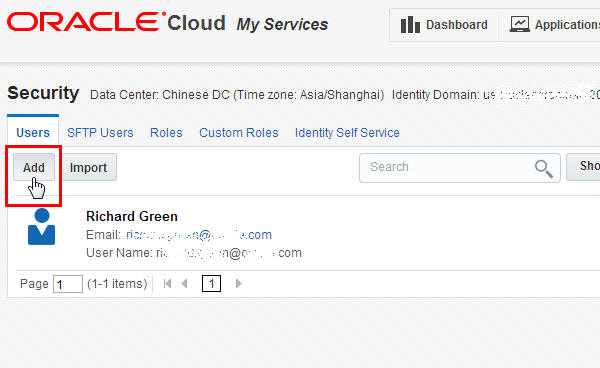
In the last step, you were in the Identify Self Services
tab. Click the Users tab
and click the Add button.
Note: The Import button next to the Add
button allows you to import definitions of multiple users
from a .csv file.
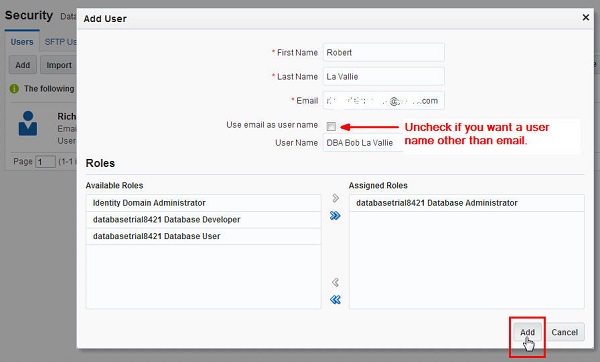
When you click the Add button, a dialog pops up to add the
new user and assign roles to the user. Fill the first name,
last name, and email address. If you do not want the
email address to serve as the user name, un-check the box,
and type in a name in the User
Name field, as shown here.
In this same dialog, you can assign one or more roles to
this user. You can use the left and right arrows to assign
or revoke roles. To assign roles, click on 1 or more roles
in the Available Roles area on the left,
and use the single or double arrow to move the role(s) to
the Assigned Roles area on the right. In
this example, the Database Administrator role is being
assigned. When done, click Add.
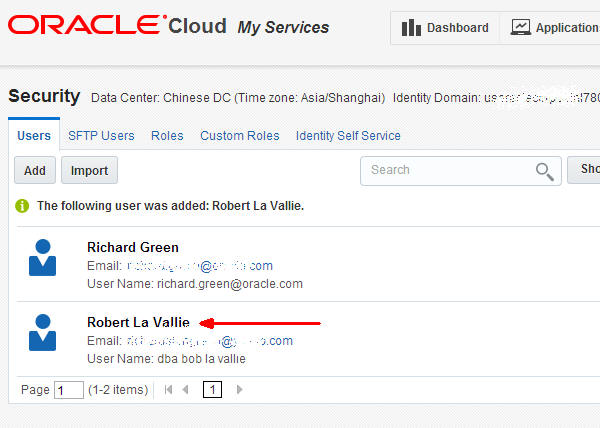
The new user is added to the list of users.
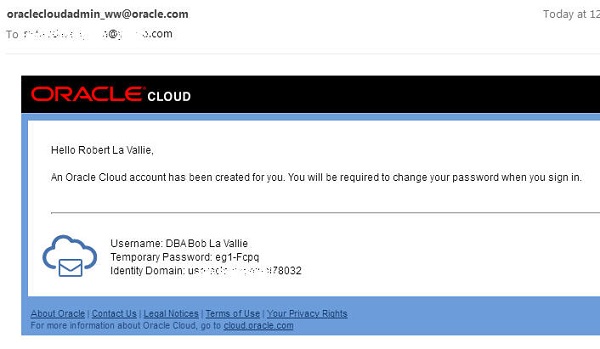
The new user will receive an email from Oracle Cloud,
informing him that an account has been created for him, and
that he will need to change his temporary assignment when
first signing in.
Note that the user is only provided his username, temporary
password, and Identity Domain name. He is not provided
the URLs to connect to My Services or a particular cloud
service. It is typically the task of a person assigned as a
Service Administrator to email the new user the URLs to
connect. That task described in the next section.
Finding Direct URLs to Give to Various Users
In this section, you learn how to find the URL you need to give to your developers to develop in Application Express and also how to find the URL you can give to end users so they can access the applications you have built and installed in your Database Cloud Service. Perform the following steps:
This example is for an Oracle Database Cloud Service. If you are not already signed in to My Services as a Database Administrator, navigate to the Oracle Public Cloud Home page and click Sign In.

Make sure the correct Data Center for your service is selected and click Sign In to My Services.

Sign in as a user who has the Database Administrator role.

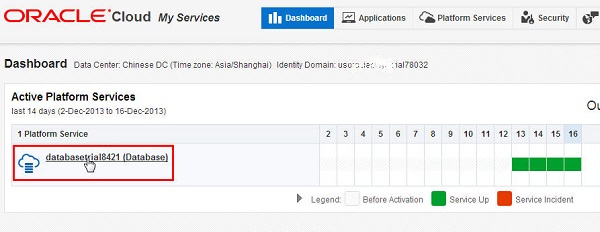
My Services opens at the Dashboard screen. Click the name of your database cloud service.
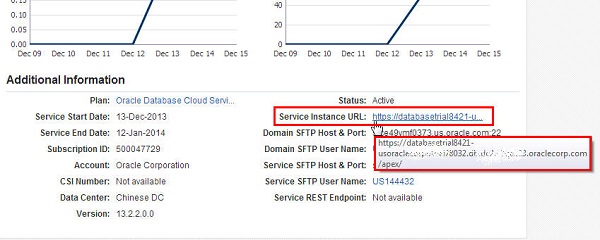
Scroll down the Overview tile. In the Additional Information section, right-click the Service Instance URL field and choose Copy link address from the pop-up menu to get the URL for the Oracle Database Cloud Service to give to your new user.
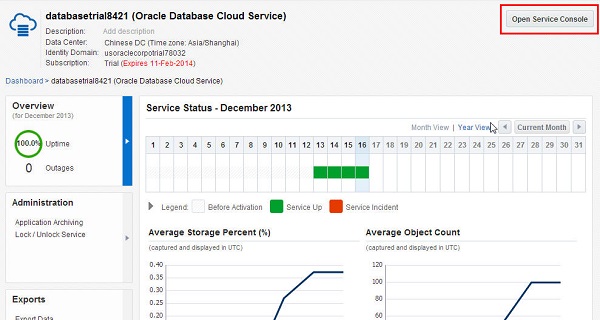
In addition, you can find the URL for packaged applications that you have installed by clicking Open Service Console.
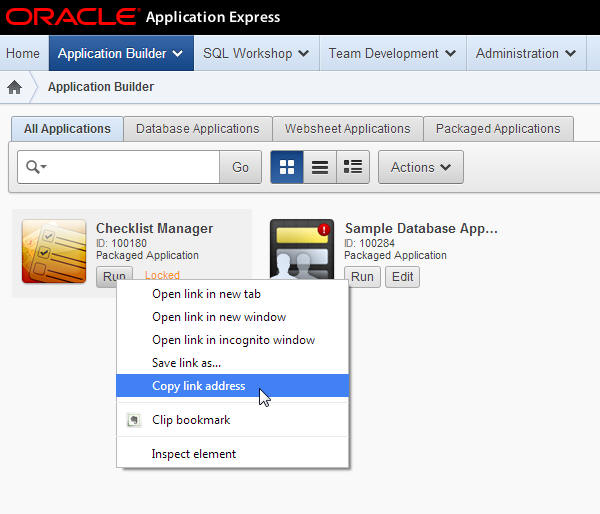
Click the Application Builder icon in the main Application Express screen. For the application you want to share with an end user, right click the Run button and select Copy link address to get the URL to run this application in a separate window. This URL is what you would give to an end user to run this application.
Summary
- Access the Security tab of My Services
- Access the sub-tabs of the Security tab, to review users and roles
- Create a new user
- Assign roles to users
- Find direct URLS to give to various users
- Oracle Cloud Home Page
- To learn more about Oracle Application Express, refer to additional OBEs in the Oracle Learning Library
In this tutorial, you have learned how to:
 Overview