Open topic with navigation
Managing Data Interfaces
This topic covers:
Adding a Data Interface
- Right-click the Data Interfaces node in the Project Browser and select New Data Interface. The Data Interface dialog is displayed.

- Add the attributes that you require
in the Data Interface, or paste a copied list of attributes.
To create a Data Interface from Staged or Reference Data:
- Right-click on the object in the Project Browser, and select Create Data Interface Mapping. The New Interface Mappings dialog is displayed.
- Click New Data Interface to create an interface with the attributes and data types of the Staged or Reference Data selected.
Editing a Data Interface
- Right-click on the Data Interface in the Project Browser.
- Select Edit... . The Data Interface Attributes dialog is displayed.
- Edit the attributes as required. Click Finish to save or Cancel to abandon.
Creating Data Interface Mappings
Data Interface mappings are required so that data can be 'bound" into or out of a process or a job.
To create a mapping, either:
- right-click on the Data Interface, select Mappings, and click the + button on the Data Interface Mappings dialog to start the New Mapping wizard; or
- right-click on a Staged Data or Reference Data set, select Create Data Interface Mapping, and click the required Data Interface in the New Data Interface Mappings dialog.
Note: Data sources are either mapped as Data In or Data Out, depending on their type:
- Staged Data, Web Services and JMS can be either Data In or Data Out.
- Reference Data and Snapshots can only be configured as Data In.
Data Interface Mappings wizard
Once the data source or target is selected, the Mapping area is displayed on the New Data Interface Mappings dialog.

Note:
- Data can be mapped by Type or by Name:
- Map by type maps the attributes
on the left-hand side to the lined-up attribute on the right-hand side,
as long as the Data Type (String, Number or Date) of both attributes is
the same.
- Map by name attempts to match
the name of each attribute on the left-hand side to the name of an attribute
on the right-hand side. Note that the matching is case-insensitive.
- If the Data Interface contains attributes that do not exist in a mapped
data source that is read into a process, these attributes are treated as having Null values in all processes.
- For Data Out mappings the Data Interface is displayed on the left, and vice versa for Data In mappings. However, this can be changed by clicking Swap Lists. For mappings which can be either Data In or Out, the default option is to have the Data Interface on the left.
Deleting Data Interfaces
- Right-click on the Data Interface, and select Delete. The following dialog is displayed:
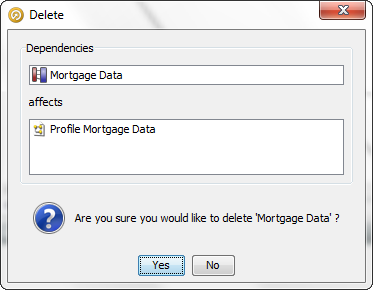
The Delete dialog shows which linked or dependent objects are affected by the deletion, if any.
- Click Yes to proceed, or No to cancel.
Further information